


Best NAS for Photo & Video Editing in Australia (2025)
Quick Take
Use a simple tiered approach. An SSD project volume for active work, an HDD pool for masters and delivered exports, and multi-gigabit networking for smooth playback. Add snapshots on both tiers with an offsite backup to meet the 3-2-1 rule. This keeps timelines responsive while protecting years of shoots.
Contents
- Why creators use a NAS in 2025
- Photo versus video workflows
- Capacity planning and growth
- Networking choices - 1GbE, 2.5GbE, 10GbE, Thunderbolt
- Storage tiers - SSD, HDD, and cache
- RAID and protection strategy
- Recommended models in Australia
- Example builds for solo and studio teams
- Setup checklist you can follow
- Backup and archive recipe
- Windows and macOS integration
- App workflows - Lightroom, Premiere, Resolve, Final Cut
- Performance, costs, and local considerations
- Shop recommended categories
- FAQs
Why creators use a NAS in 2025
For photographers and videographers, a NAS becomes the single source of truth. Files live in one place, permissions are consistent, and everyone edits from the same assets. Instead of juggling USB drives, copying folders back and forth, and wondering which export is final, a NAS centralises projects and shortens the path from ingest to delivery.
On a modern creative team the work is rarely done by a single machine. You might cull on a laptop, grade on a workstation, and export on a headless box. A NAS allows each step to happen without shuffling media. The result is fewer mistakes, less waiting, and clearer accountability. Creators also get built-in data services like snapshots and replication that consumer external drives do not offer.
For Australian studios there is a second factor. data residency and the real cost of slow uploads. Large projects can overwhelm home internet connections, making cloud only approaches awkward. A NAS gives you LAN speed for day to day work, while still letting you push a protected copy offsite at night.
Photo versus video workflows
Stills and motion share patterns but they have different performance profiles. Understanding these differences leads to a layout that feels fast without overspending.
Photography teams
Photographers need rapid preview access, reliable catalogs, and predictable archives. A common pattern is to keep Adobe Lightroom or Capture One catalogs and previews on SSD while RAW files live on the NAS. This keeps scrubbing snappy and maintains a central archive. The NAS handles versioning and permissions so that juniors and seniors can work from the same source without stepping on each other.
Video teams
Video editors care about sustained throughput. For long form projects you need multi user access and enough headroom to play multiple streams at once. SSD scratch or a dedicated SSD project volume makes proxy and render operations quick, while the HDD pool stores camera originals. With 10GbE on the workstation and the NAS, timelines feel natural and exports run in the background while others continue editing.
Hybrid studios benefit the most from combining these approaches. Keep the working set on SSD, the bulk on HDD, and add a small cache where it improves reads and writes. When the project wraps, archive cleanly to the HDD pool and offsite storage so that future revisions are painless.
Capacity planning and growth
Capacity planning works best when you start from actual projects and growth rates. A wedding photographer might add a few terabytes each season. A production house may add tens of terabytes each quarter. Planning around those numbers keeps budgets realistic.
As a simple rule of thumb, assume stills grow by fifteen to twenty five percent each year and video grows by thirty to sixty percent, depending on codec choice and deliverables. Then factor RAID overhead and snapshot retention. If your current library is twelve terabytes, it can grow well past twenty five terabytes within three years. A six bay array with six ten terabyte drives in RAID 6 yields roughly thirty two terabytes usable and gives you room for expansion later.
Growth is not just about capacity. It is also about IOPS and throughput. As team size and project count rise, random access on catalogs and previews matters. That is why even budget builds benefit from a modest SSD tier.
Networking choices - 1GbE, 2.5GbE, 10GbE, Thunderbolt
Networking is the most visible determinant of day to day performance. A single one gigabit link tops out around one hundred and ten megabytes per second, which is fine for backups and one editor who does not need constant high bitrate playback. Two point five gigabit raises that to roughly two hundred and eighty megabytes per second and has become a sensible baseline for photo teams. Ten gigabit delivers near one thousand one hundred megabytes per second and transforms multi editor video work.
For mixed studios, uplink the NAS at ten gigabit, connect primary editing stations at ten gigabit, and use two point five gigabit for everyone else. On Mac heavy teams a Thunderbolt NAS or Thunderbolt to Ethernet adapter can simplify wiring. Keep cable runs short and use known good DACs or Cat6a to avoid intermittent problems.
Storage tiers - SSD, HDD, and cache
Split your storage by purpose. The HDD pool holds camera originals, delivered exports, and archives. A dedicated SSD project volume carries catalogs, proxies, renders, and current sequences. Optional SSD cache can accelerate hot reads and writes on the HDD pool when many small files are accessed repeatedly.
Choose NAS rated HDDs for durability. For SSDs, prefer TLC models for mixed read and write workloads and use QLC for read heavy proxy pools or where budget is tight. If your NAS supports NVMe slots, start with a small mirrored pair for cache or a fast SSD project volume. If bays are limited, a two and a half inch SATA SSD still gives a simple uplift.
RAID and protection strategy
RAID protects against drive failure but it is not a backup. A sensible scheme is RAID 1 on two bay units, RAID 5 on four to six bays, and RAID 6 on eight or more. Pair RAID with snapshots for point in time rollbacks and keep a separate backup copy that you can restore to a different device.
Schedule hourly snapshots on project shares and daily snapshots on archives. Retain thirty to ninety days based on budget and risk. Replicate snapshots or back up changed blocks offsite each night. The combination of RAID, snapshots, and offsite copies prevents downtime from drive failure, accidental deletion, and ransomware.
Recommended models in Australia
The following models are widely available in Australia and map well to creative work. They are not the only choices, but they are straightforward to deploy and upgrade.
- QNAP TS-464 - A starter that scales to small teams. Two point five gigabit networking and NVMe cache support make it a capable first NAS for photographers.
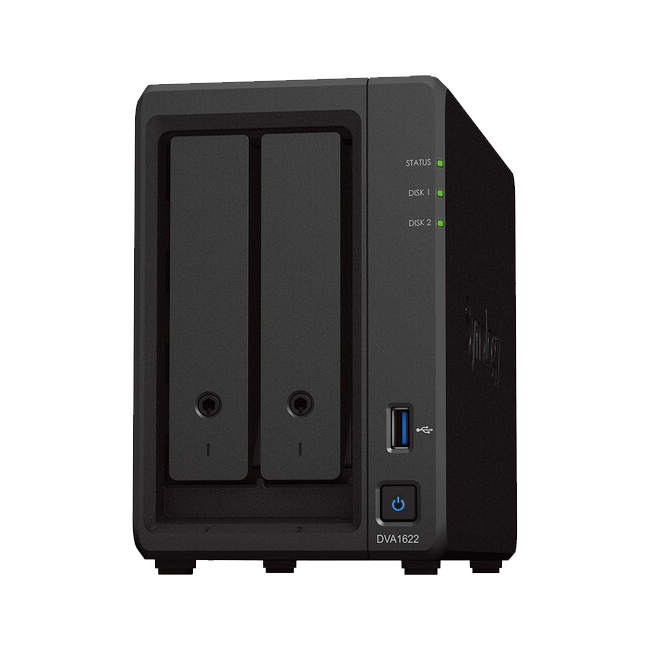
- Synology DS925+ - A polished interface and strong backup tools. A reliable choice for Lightroom and mixed office duties.
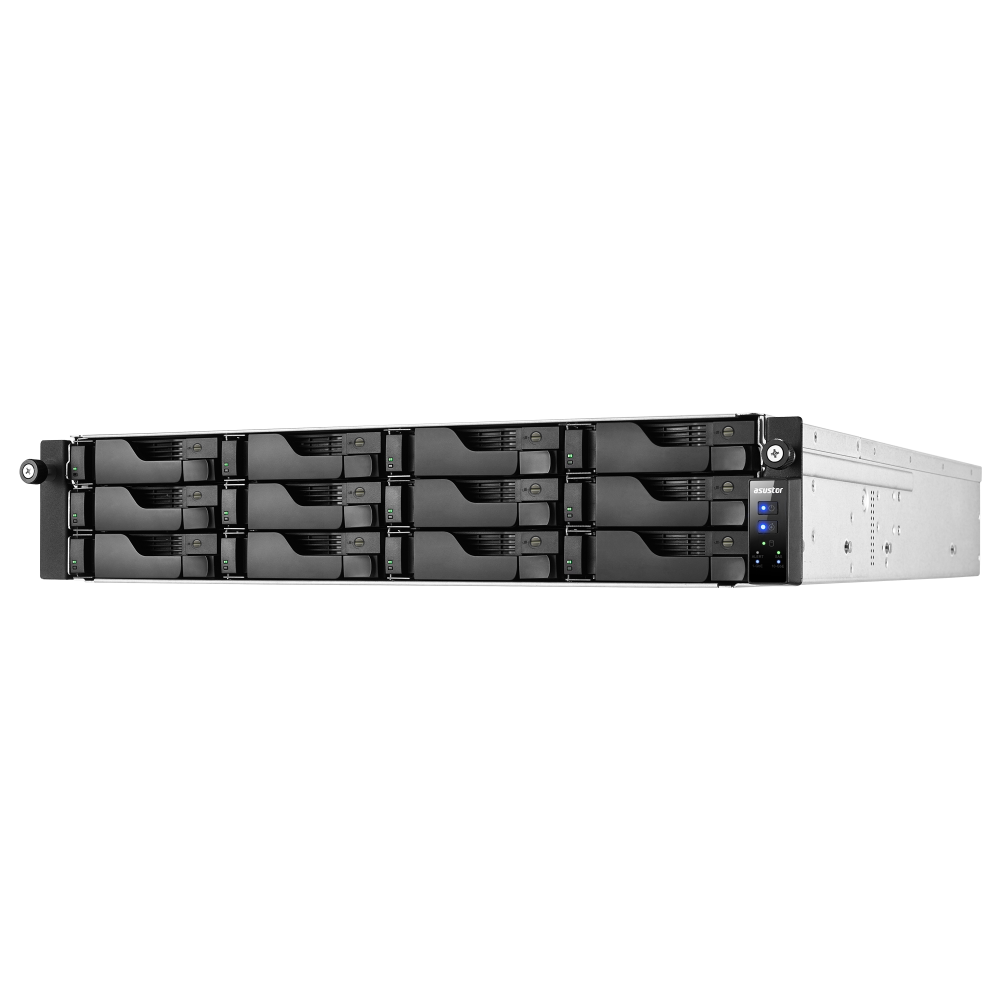
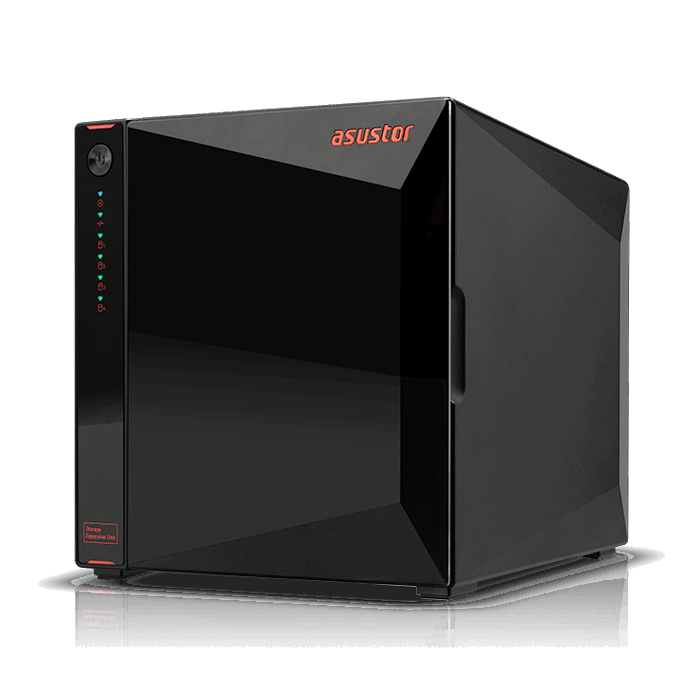
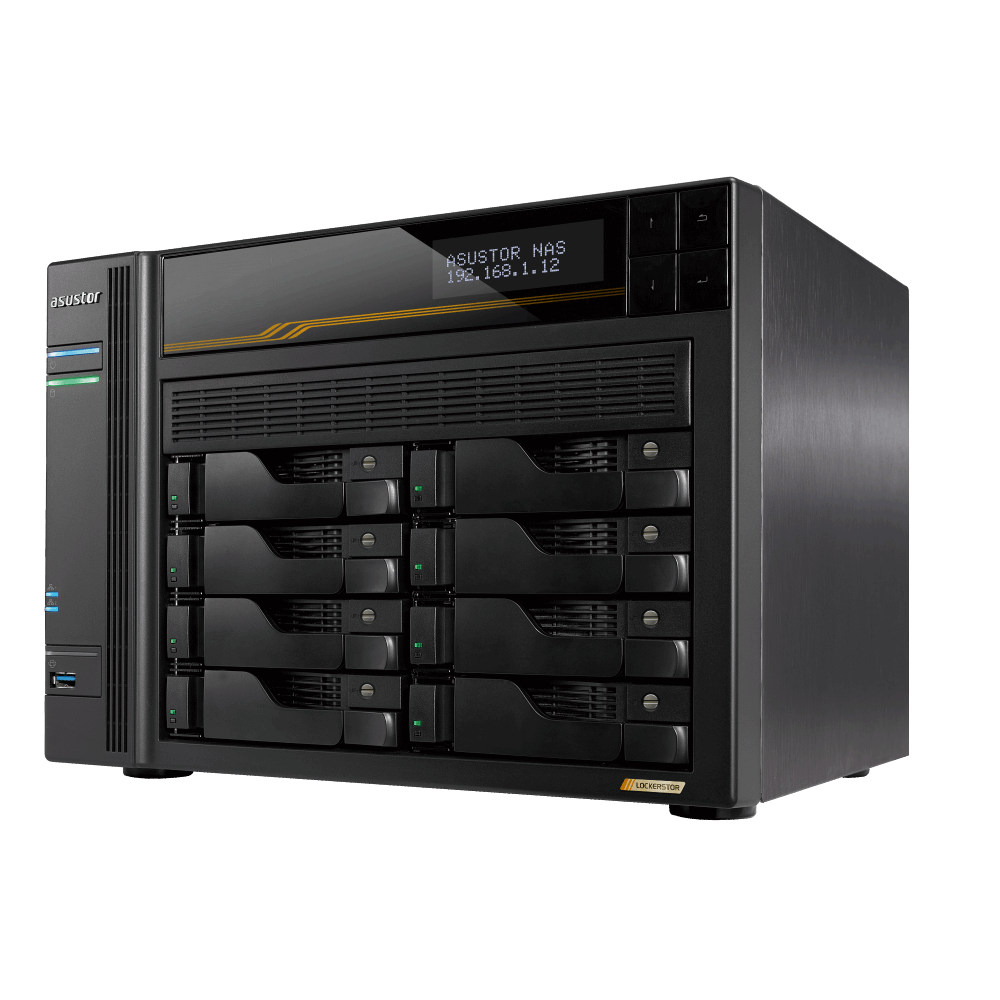
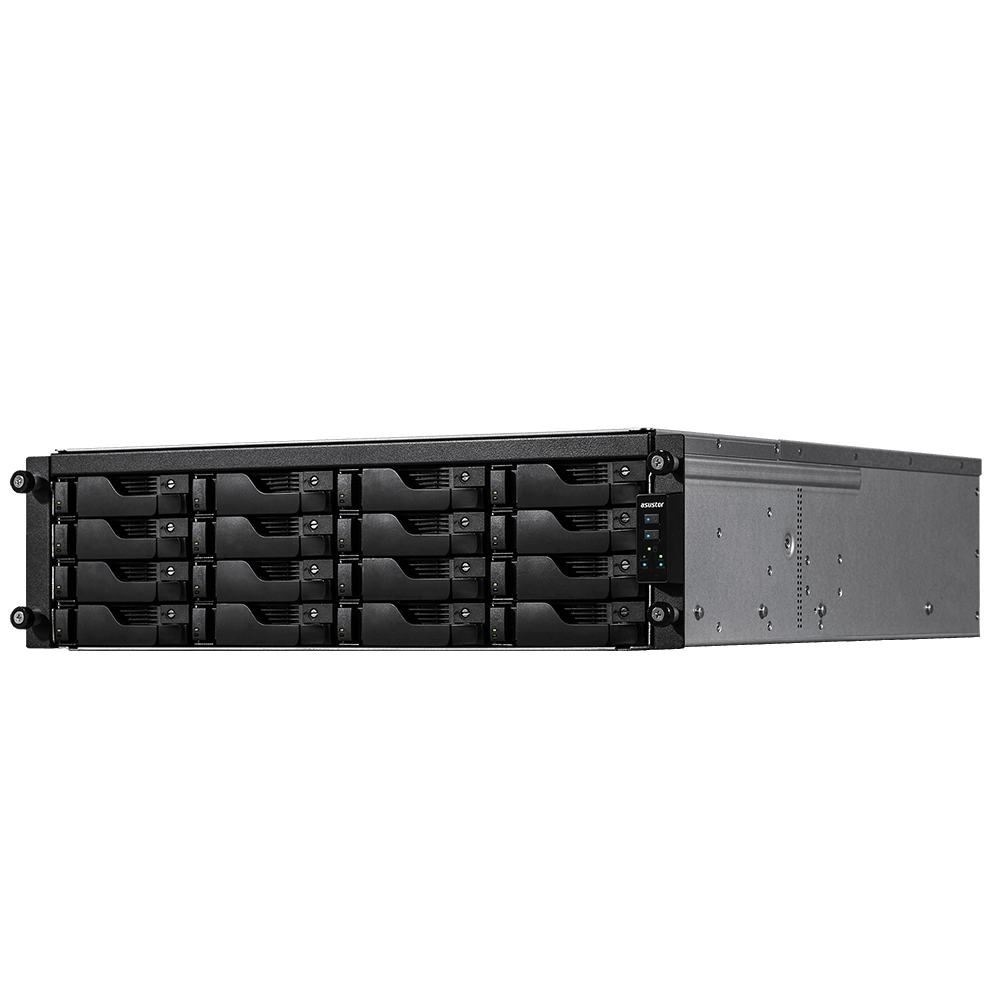
- Asustor Lockerstor 4 Gen 3 - Flexible slots and HDMI for studios that also need direct playback. Good value for a hybrid photo and video shop.
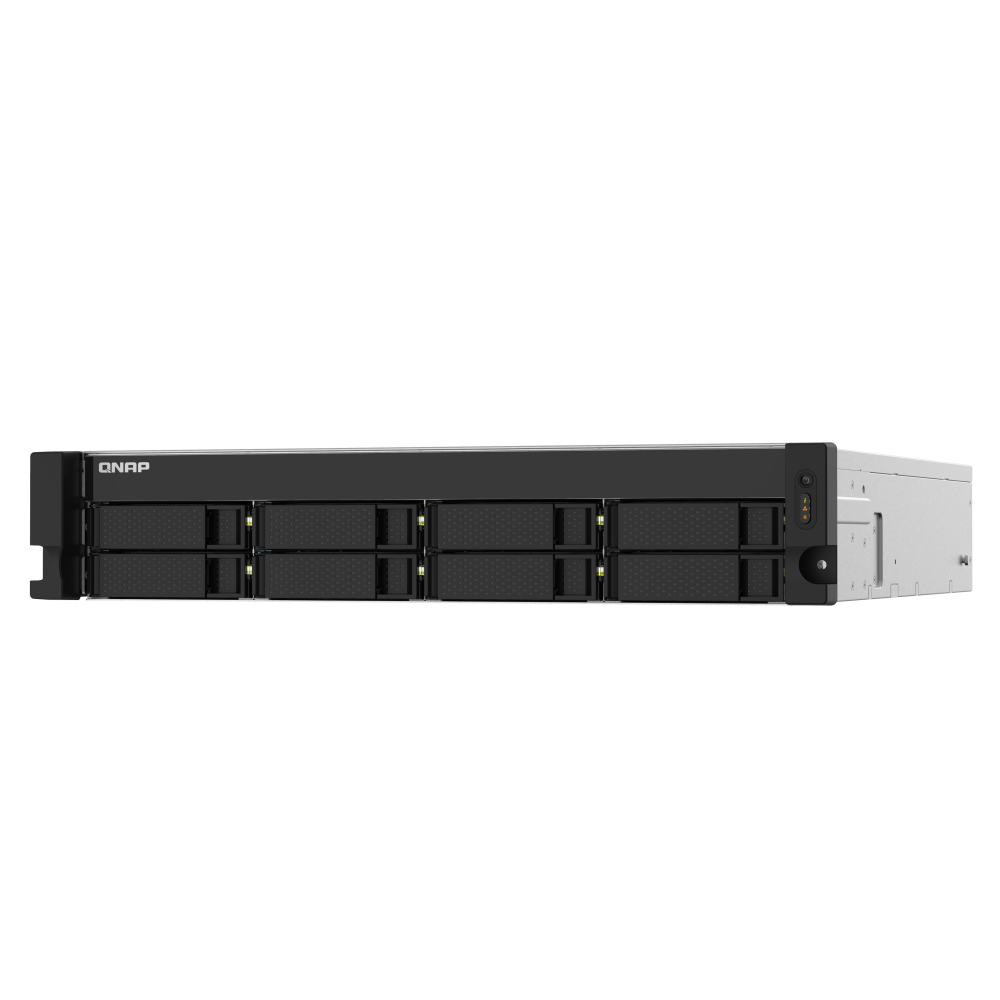
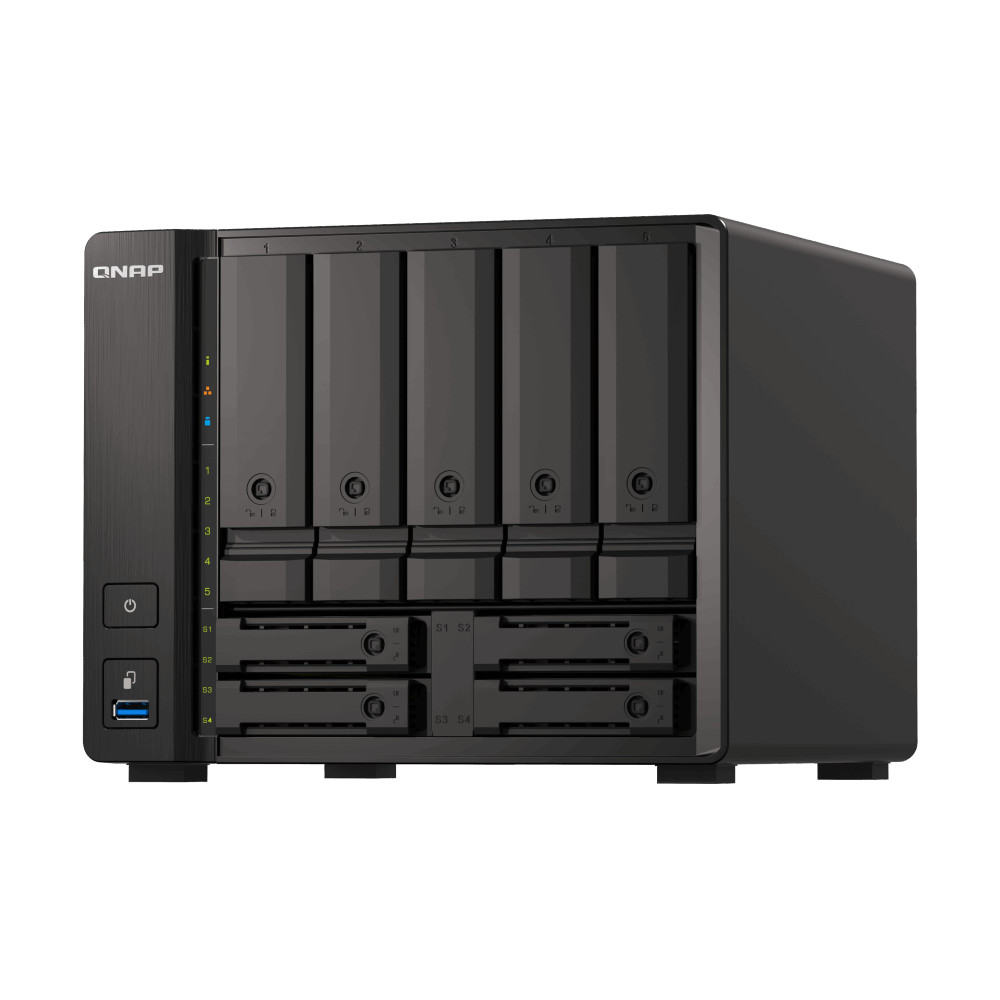
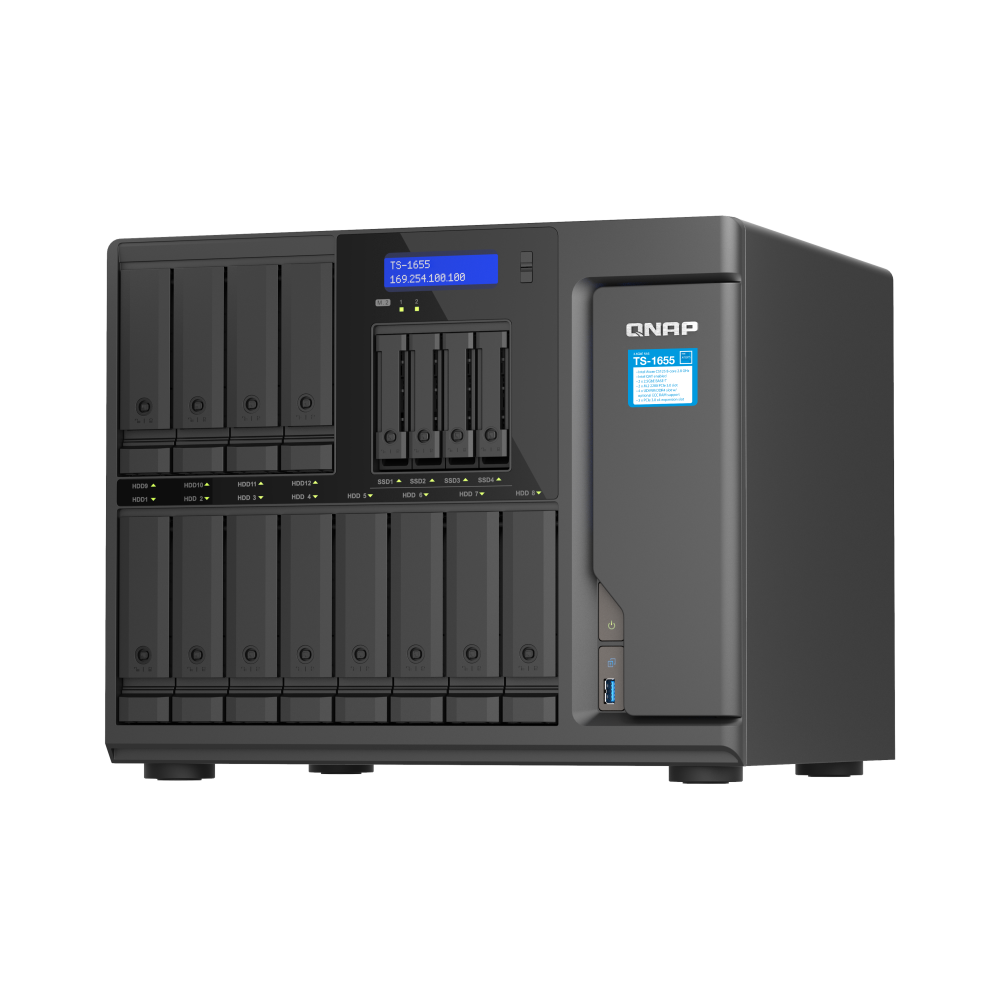
- QNAP TS-873A - Eight bays with PCIe upgrade paths to ten gigabit. A solid platform for video teams moving beyond proxies.
- QNAP TVS-h674T - Intel Core with Thunderbolt and ten gigabit options. A premium hybrid that handles SSD projects and HDD archives in one chassis.
Example builds for solo and studio teams
Photographer starter
Use a four bay chassis with two point five gigabit, NVMe cache slots, and quiet fans. Populate with four eight terabyte NAS drives in RAID 5 for a practical balance of capacity and protection. Add a small mirrored SSD pair as a project volume to keep catalogs and previews quick. This layout supports direct work from the NAS while keeping future upgrades simple.
Growing studio
A team of three to eight editors benefits from six bays, SSD cache, and at least one ten gigabit link to the switch. Keep catalogs and proxies on a dedicated SSD project share. Originals and exports live on the HDD pool. This tier comfortably runs stills and 4K proxy work while letting senior editors pull high bitrate shots when required.
Video team
For five to fifteen users and regular 4K or higher projects, step to eight bays and ten gigabit. Choose TLC SSDs for project work and use NVMe for cache where the NAS supports it. Editors connect at ten gigabit. Producers join at two point five gigabit for reviews and asset management. The HDD pool runs RAID 6 for resilience during rebuilds.
All flash
Latency sensitive work such as heavy grading or large After Effects projects can justify an all flash tier. Six to eight SSDs behind ten or twenty five gigabit delivers exceptional responsiveness. Keep the HDD pool for bulk storage and long term archives so budgets remain sensible.
Setup checklist you can follow
- Place the NAS where airflow is unobstructed and power is clean. Connect to a UPS that supports graceful shutdown.
- Install NAS rated HDDs first. Add SSDs after the array is stable so that burn-in and health checks are easy to read.
- Initialise with the vendor tool, create an admin account with strong credentials, enable two factor authentication, and record recovery keys offline.
- Update the OS and packages before creating shares. Apply firmware updates on a planned window.
- Create shares for Projects, WIP, Masters, and Deliverables. Map permissions by group to keep onboarding simple.
- Enable hourly snapshots on Projects and WIP, daily on Masters and Deliverables. Retain at least thirty days to begin with.
- Configure nightly backups to USB or object storage. Rotate a second USB offsite weekly or replicate to a second NAS at another location.
- Turn on monitoring. SMART tests, RAID scrubs, temperature alerts, login failures, and capacity thresholds. Send notifications to a shared mailbox.
- Document your network settings, share names, and restore procedures. Keep a printed copy with the UPS manual.
Backup and archive recipe
Backups are the difference between a bad day and a business ending event. Treat them as part of the workflow, not as an afterthought. Use the 3-2-1 rule. three copies of your data on two different media with one copy offsite. Snapshots provide fast local rollbacks. Backups provide independence from the NAS itself.
Start with hourly snapshots on active shares and daily snapshots on archives. Back up to a local USB disk each night and rotate that disk offsite once a week. Replicate an encrypted copy to cloud object storage each night. Once per quarter, perform a test restore of a real project. Time it, record the steps, and adjust retention if needed. This turns backup from a wish into a repeatable process.
Windows and macOS integration
Windows maps NAS shares over SMB and integrates with Volume Shadow Copy so previous versions are easy to recover. macOS connects over SMB and supports Time Machine backups to the NAS. On Apple based teams with Final Cut Pro, store libraries on the SSD project share and keep media and renders on the NAS to reduce peak IOPS on the workstations.
App workflows - Lightroom, Premiere, Resolve, Final Cut
Adobe Lightroom Classic
Keep the catalog and previews on SSD so that scrolling and loupe view remain responsive. Store RAWs on the NAS. When traveling, generate Smart Previews so you can work offline on a laptop, then relink to the NAS when you return.
Adobe Premiere Pro
Keep proxies and the project file on the SSD project share and keep camera originals on the HDD pool. On a ten gigabit link you can play multiple streams, while renders land on SSD and are moved to the Masters share when approved.
DaVinci Resolve
Resolve thrives on fast disks for cache and gallery stills. Use the SSD project share for cache and the HDD pool for source footage. Ten gigabit is recommended for multi user collaboration to avoid stutters during grading.
Final Cut Pro
Final Cut libraries can live on SSD with media on HDD. Enable background render only when needed to reduce churn. For multicam, pre-generate proxies on SSD to keep playback smooth.
Capture One
Tethering to a NAS share is possible on a wired network. Save captures to the SSD project share for speed, then move selects to the Masters share at the end of the session.
Performance, costs, and local considerations
Use this part of the guide when you are tuning, budgeting, and preparing your studio for Australian conditions. It links to performance tuning, local buying context, lifecycle planning, testing steps, troubleshooting, and a short glossary.
Performance tuning that actually helps
Small changes often deliver the biggest gains. Start by checking link speed on both the workstation and the NAS. Many slowdowns come from a negotiated one gigabit link when you expected two point five or ten. Replace questionable cables and verify switch ports. On Windows, disable legacy SMB signing where policy allows and enable SMB multichannel if you have multiple links. On macOS, prefer a wired connection and a modern USB C or Thunderbolt to Ethernet adapter with a known chipset.
On the NAS, keep ten to twenty percent free space on each pool. Snapshots and metadata need headroom to work efficiently. Schedule indexing outside of working hours and exclude folders that do not need thumbnails. If your platform supports it, pin cache for hot folders such as current projects. Avoid putting heavy surveillance recording on the same volume that holds catalogs unless you have the disks to absorb the IOPS.
For Resolve and Premiere, generate proxies at an appropriate bitrate rather than defaulting to the highest preset. A proxy that is too large defeats the point and burns both SSD space and network throughput. For stills, generate Smart Previews where possible. These small DNGs keep laptops responsive on the road while the NAS holds the full RAWs for final export.
Australian buying context
Australian buyers face unique constraints and opportunities. Shipping times and regional availability can influence which chassis make sense. Power costs and heat are also significant in many states, so look at idle draw and fan noise when choosing a model for a small studio. If you are outside a capital city, aim for models with common spare availability and plan a small pool of spare drives so a failure does not turn into a week of downtime.
Data residency is another consideration. Many clients want their content stored onshore. A NAS helps by keeping production data local while still allowing encrypted replication to Australian object storage providers or a second site. Consider peering and latency to your chosen cloud region if you plan to browse archives directly from cloud mounts.
Costing and lifecycle planning
Budgeting is easier when you think in lifecycles. A chassis typically lasts five to seven years. Hard drives last three to five years depending on workload. SSD endurance depends on write volume and total bytes written. Model a three year total cost that includes the chassis, drives, a UPS, and a replacement drive fund. Compare that to three years of cloud storage for your expected data volume and access patterns. For multi terabyte working sets used daily, a NAS with hybrid backup is usually the better value.
When sizing drives, avoid buying all units from the exact same batch. Stagger purchases over a few weeks or from different suppliers to reduce correlated failure risk. Keep at least one cold spare on site once arrays grow beyond four bays. For SSDs, prefer models with power loss protection and clear endurance ratings.
Testing your workflow before it matters
Set aside an afternoon to test. Create a sample project with camera originals, a few timelines, and typical exports. Measure ingest times from card to SSD project share, measure playback performance with two editors pulling from the NAS, and measure export times to the Masters share. Next, delete a few files and use snapshots to restore them. Finally, perform a full restore from your offsite backup to a spare disk. Record what worked, what failed, and the steps in your internal wiki.
This exercise exposes bottlenecks that are easy to fix in advance. It also builds confidence with your team and turns backup and restore into routine tasks rather than mysteries that no one wants to touch.
Troubleshooting common slowdowns
If timelines stutter, confirm link speed and duplex. Then look at disk activity on the NAS. If the HDD pool is pegged while the SSD project share is idle, check where cache and proxies are writing. If the SSD share is full, Archivists may have moved live projects to Masters. Add capacity or move current projects back to SSD. If write performance is poor on HDD, verify that your array has enough spindles for the number of concurrent users and consider enabling write cache with a protected UPS path.
If file browsing is slow on macOS, ensure the NAS advertises SMB properly and that legacy AFP is not confusing mounts. Disable thumbnails for folders with tens of thousands of small files. On Windows, review antivirus exclusions for known safe NAS paths to avoid real time scanning penalties during ingest. Always document any exclusion so that audits remain clean.
Glossary for new team members
- HDD pool - the set of hard drives that hold masters and archives
- SSD project share - a fast volume used for catalogs, proxies, and renders
- Snapshot - a point in time copy of a dataset that allows rapid rollback
- Replication - sending changed blocks to another device or cloud bucket
- Proxy - a lower bitrate or resolution copy used to make editing responsive
- RPO and RTO - recovery point objective and recovery time objective that define how much data you can lose and how quickly you must be able to restore