


How to Choose a NAS (Australia) - 2025 Guide
Quick Take
Choosing the right NAS in 2025 means balancing bay count, drive type, CPU, RAM and network speed with how you will use it: home streaming, photo or video editing, or business file sharing. This guide covers the essentials and links to Australian collections you can shop today.
- What makes NAS different from a USB drive and why it is a better long-term storage solution
- How to size bays and pick between HDDs, SSDs and cache for better transfer speeds
- CPU and RAM tiers for Plex, containers or VMs, and multi-user office work
- When to step up from 1GbE to 2.5GbE or 10GbE
- RAID setup, snapshots and 3-2-1 backups aligned with Australian Consumer Law expectations
Table of Contents
- What is a NAS and Why You Need One
- Who Should Buy a NAS in 2025?
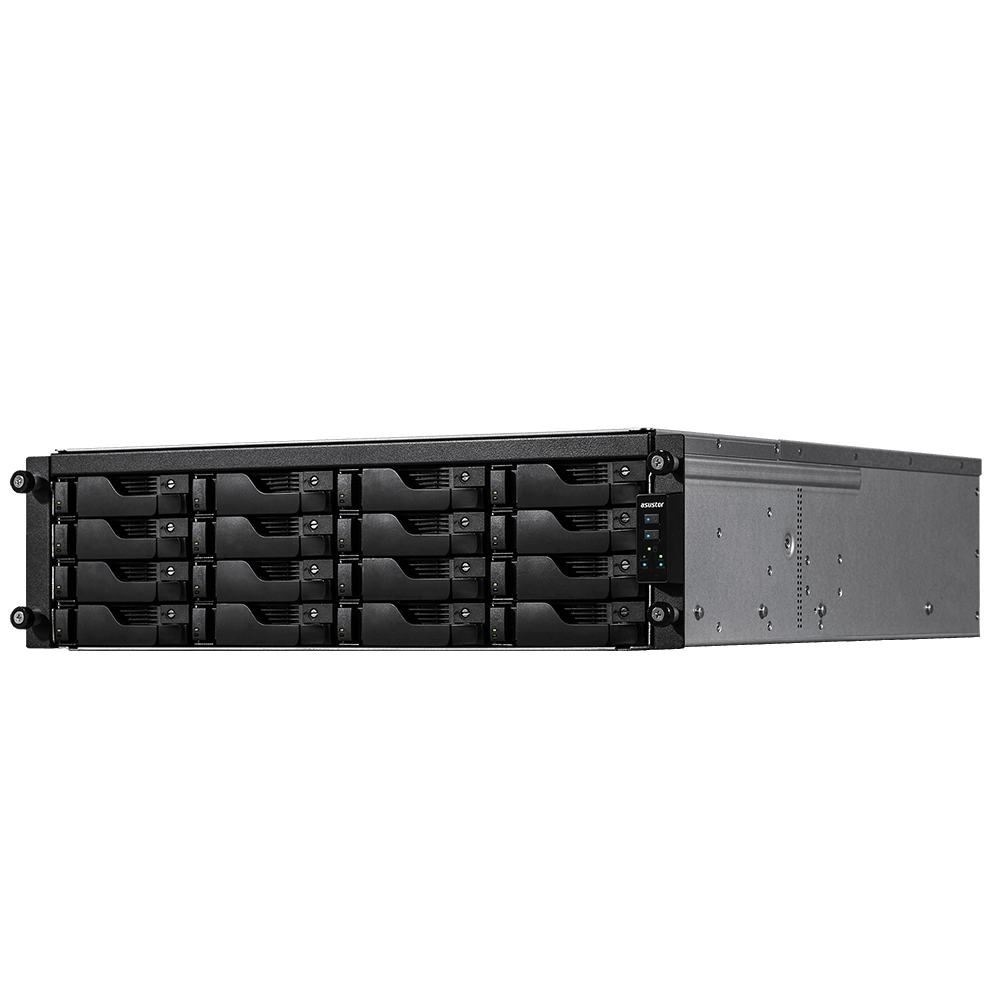
- Step 1 – Choosing Your Bay Count
- Step 2 – Picking the Right Drives
- Step 3 – CPU & RAM: Powering Your NAS
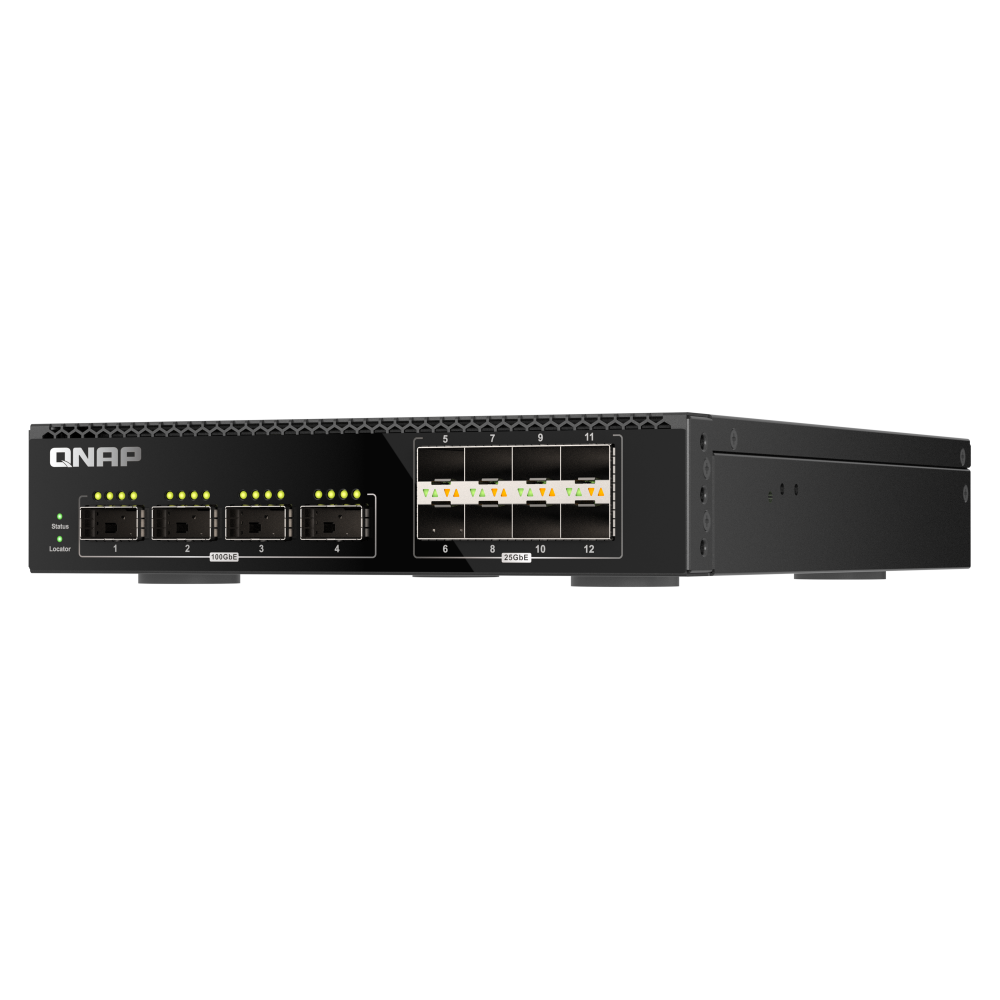
- Step 4 – Networking: 1GbE, 2.5GbE & 10GbE
- Step 5 – RAID, Redundancy & Backup
- Step 6 – Software & Apps
- Step 7 – Noise, Power & Environment
- Best NAS Options in Australia (2025)
- Buying NAS Drives in Australia
- Final Thoughts
- FAQ
What is a NAS and Why You Need One
A NAS, or Network Attached Storage, is a purpose-built storage system that lives on your local network and serves files to PCs, Macs, phones, tablets and TVs. Unlike a single-user USB drive, a NAS is accessible to multiple users and devices with permissions and secure remote access.
Think of it as your private cloud under your control. It is ideal for Australians who want data sovereignty, lower ongoing costs than public cloud, and high-speed local transfer for large media files.
Who Should Buy a NAS in 2025?
Home Users
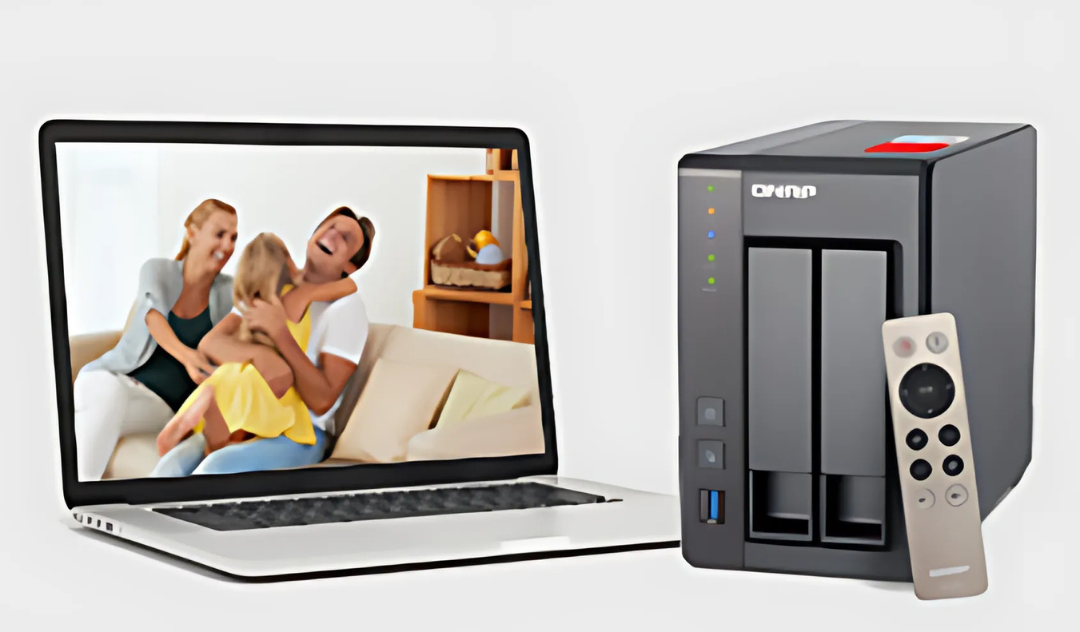
- Stream 4K movies and music to TVs and tablets via Plex or DLNA.
- Automatically back up laptops and phones and consolidate family photos.
- Replace multiple external drives with a central, reliable storage solution.
Creatives (Photo and Video)
- Offload RAW photos and high bitrate video and use SSD cache for responsive previews.
- Edit over 2.5GbE or 10GbE for real time timeline scrubbing.
- Share projects between workstations without constant copying.
Small Businesses
- Central file server with user and group permissions and audit trails.
- Snapshots and immutable backups to reduce ransomware risk.
- Remote access for staff without per user cloud subscriptions.
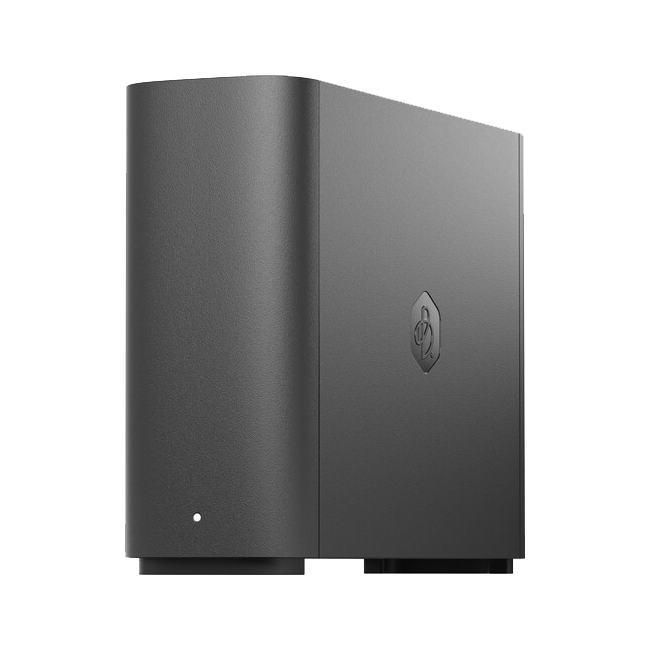
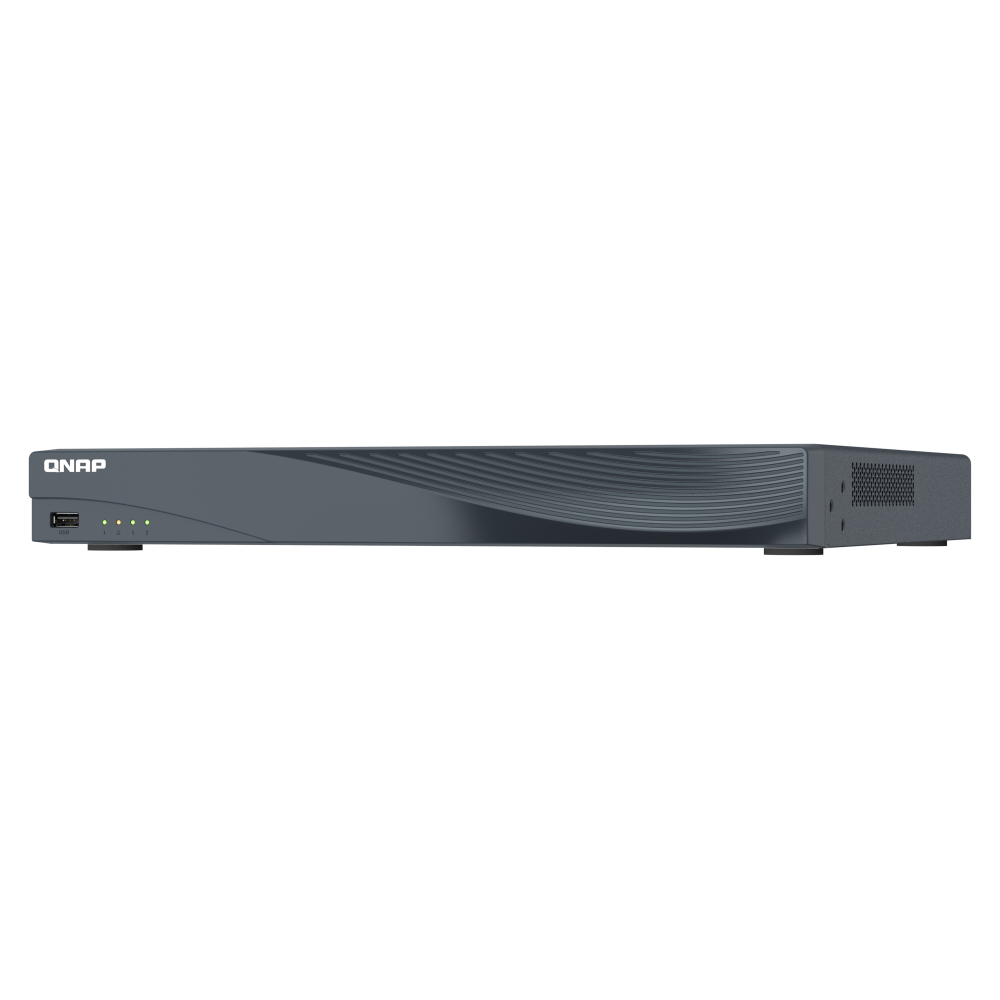
Step 1 – Choosing Your Bay Count
Bay count determines how many drives fit in your NAS and directly affects capacity, redundancy options and performance.
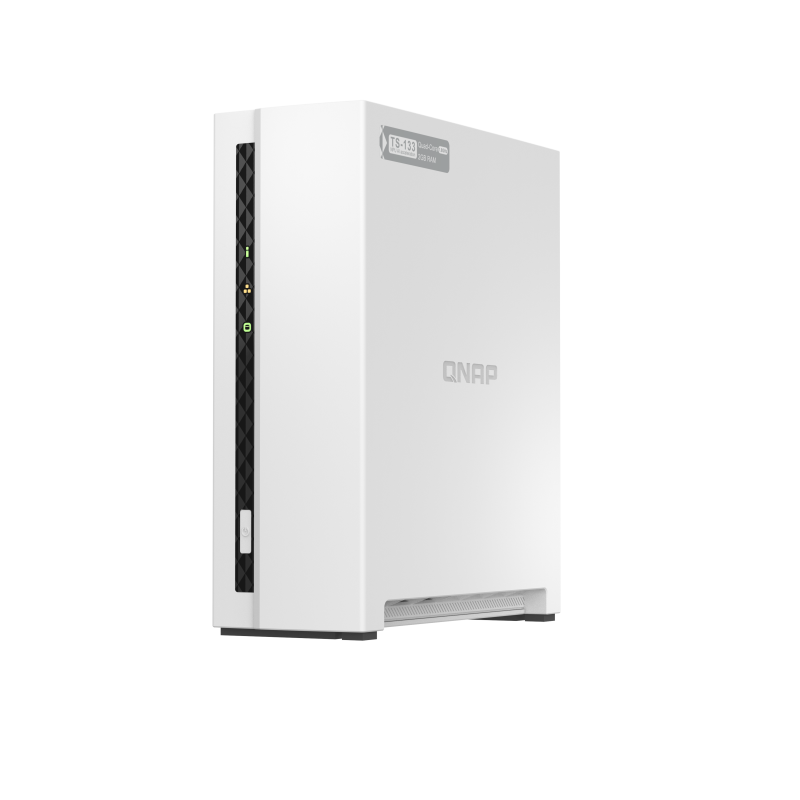
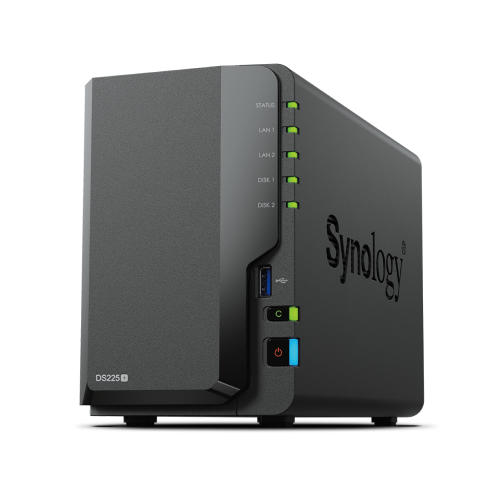
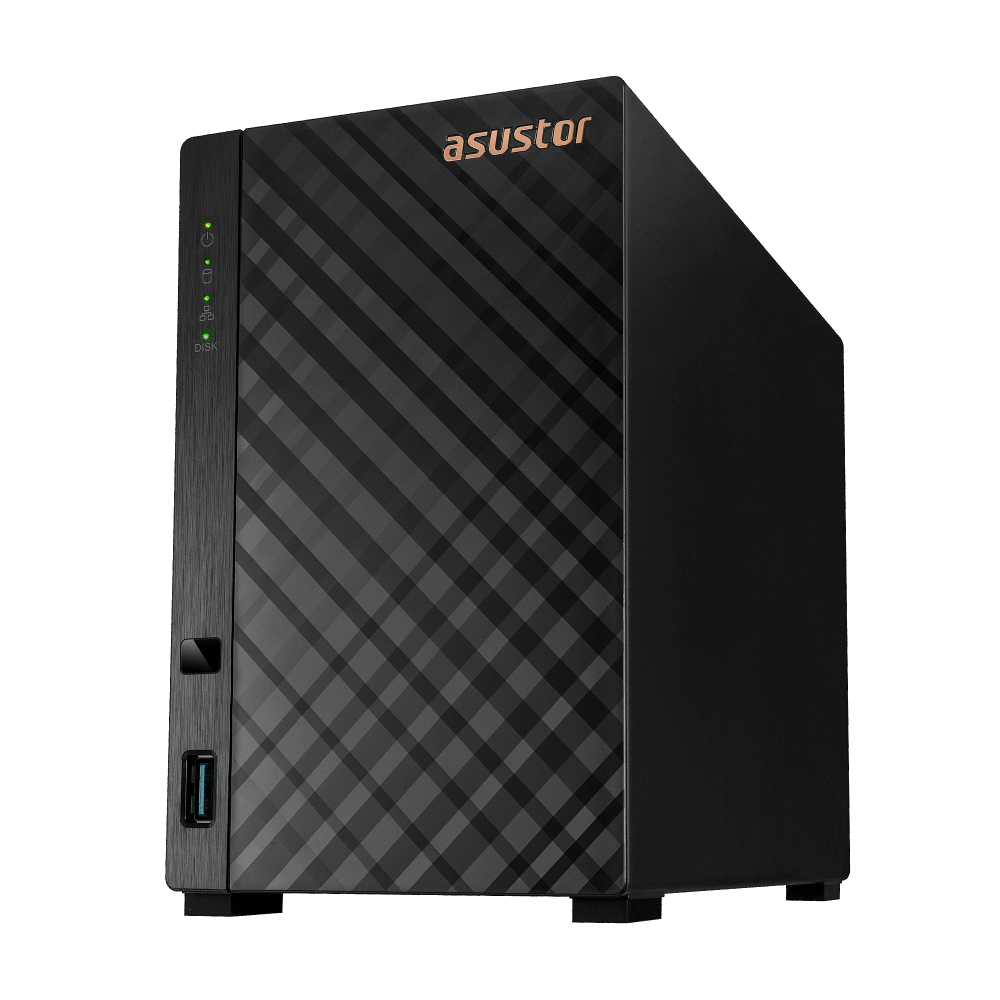
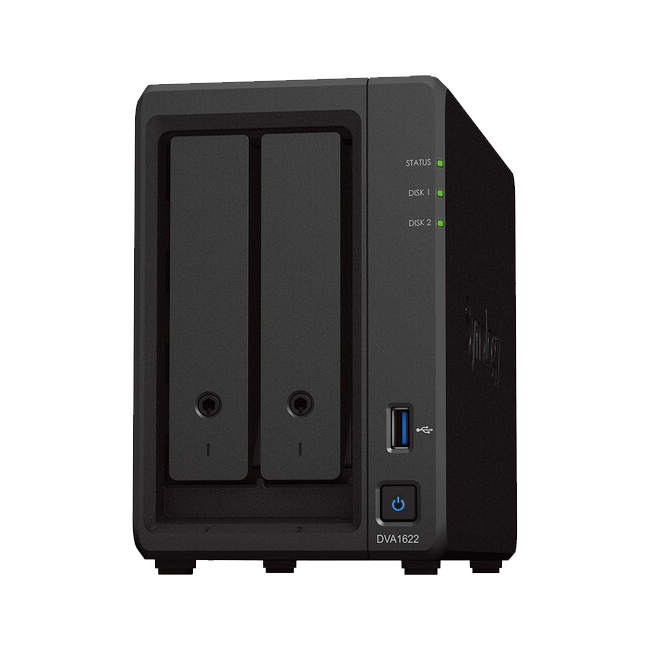
Two bay
- Good for first time buyers and small households.
- Supports RAID 0 or 1. RAID 1 mirrors data for redundancy.
- Start small and grow by swapping drives later.
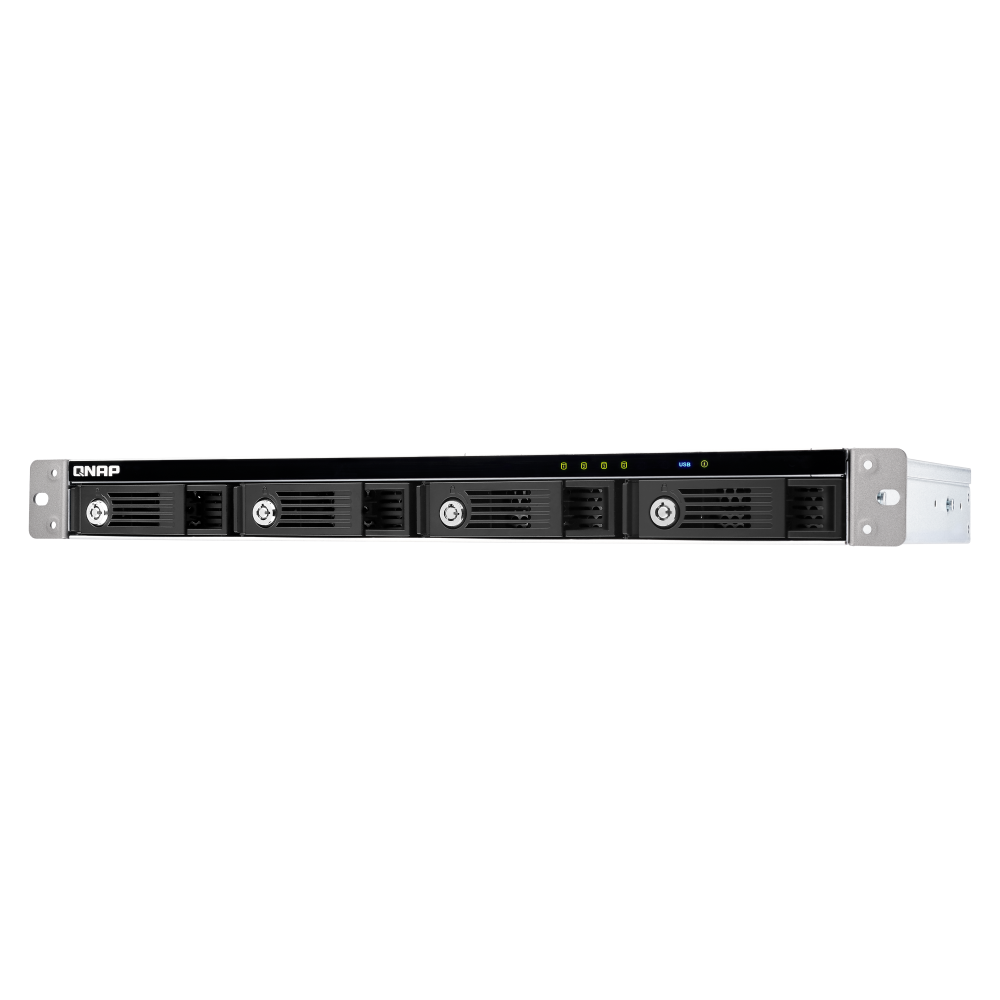
Four bay (popular in Australia)
- Enables RAID 5 for balanced capacity and protection.
- Room to expand as libraries grow and better parallel performance.
- Often the best value in 2025.
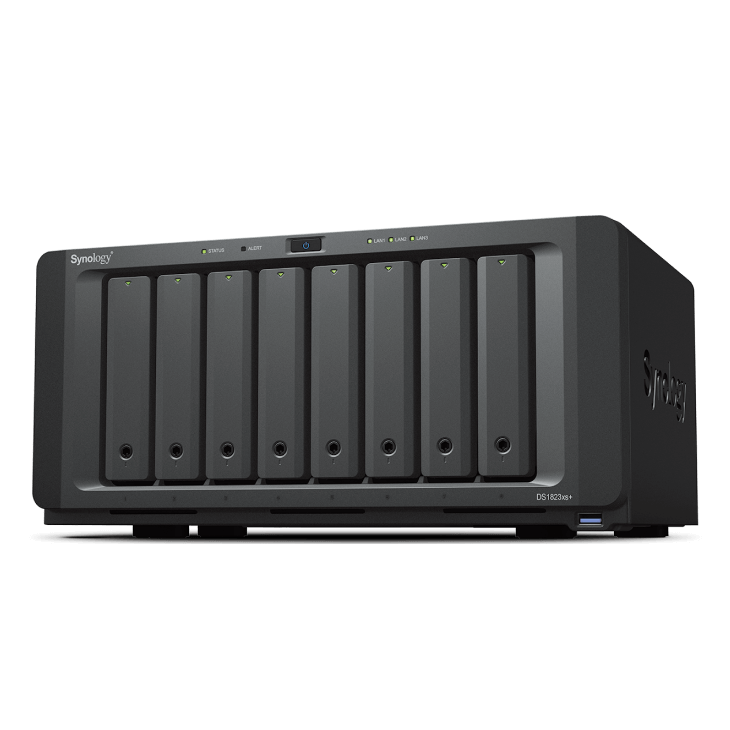
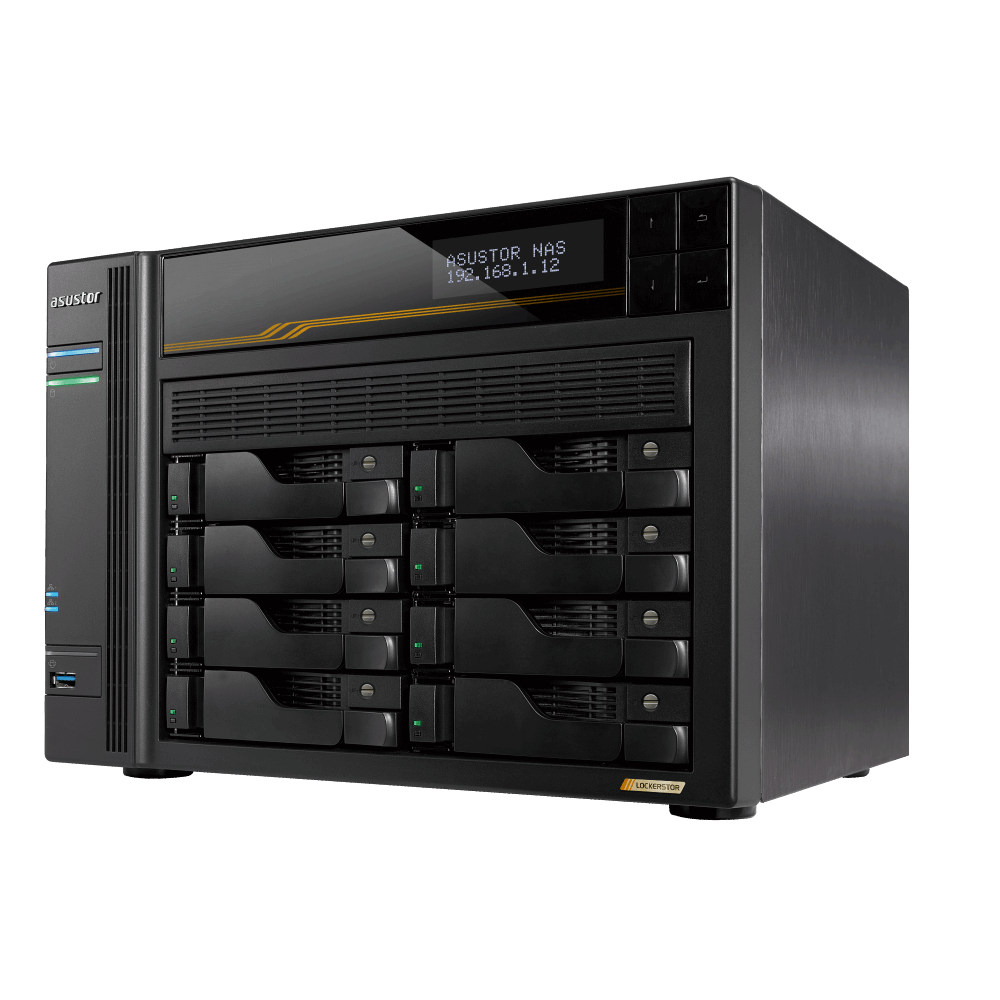
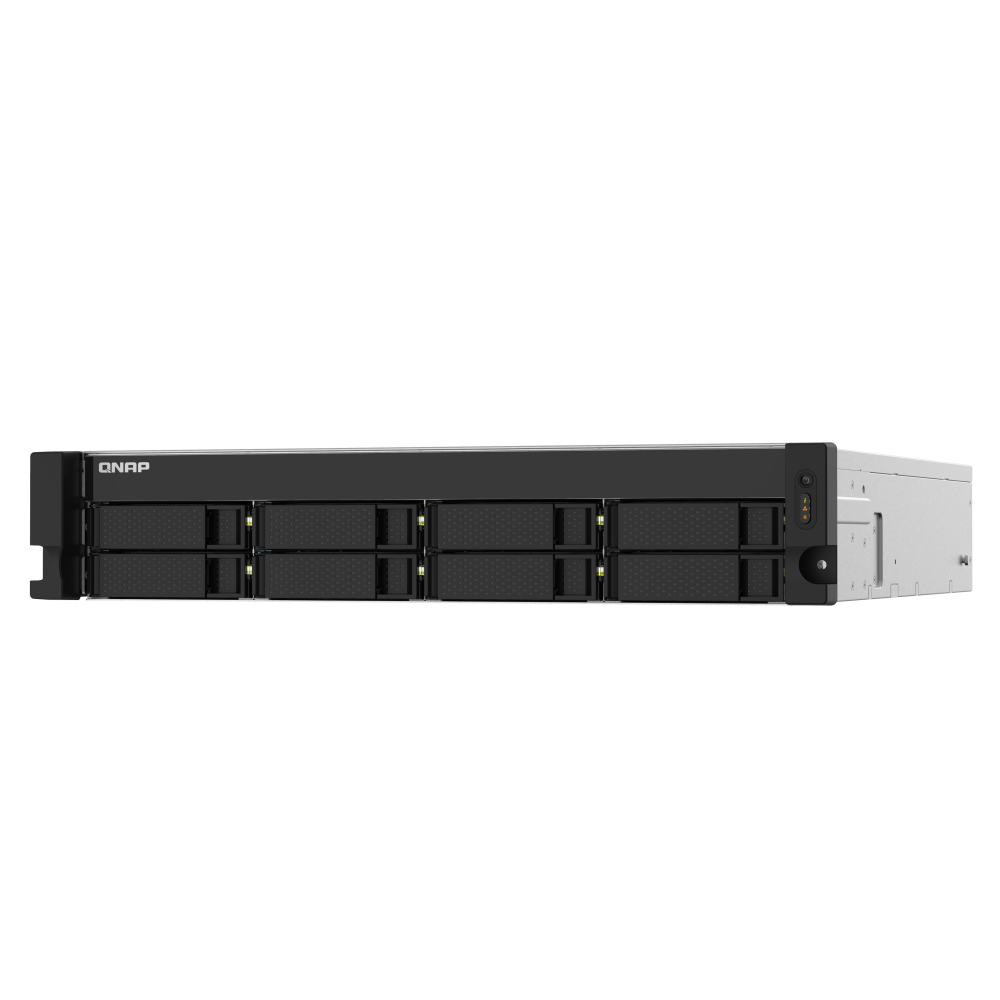
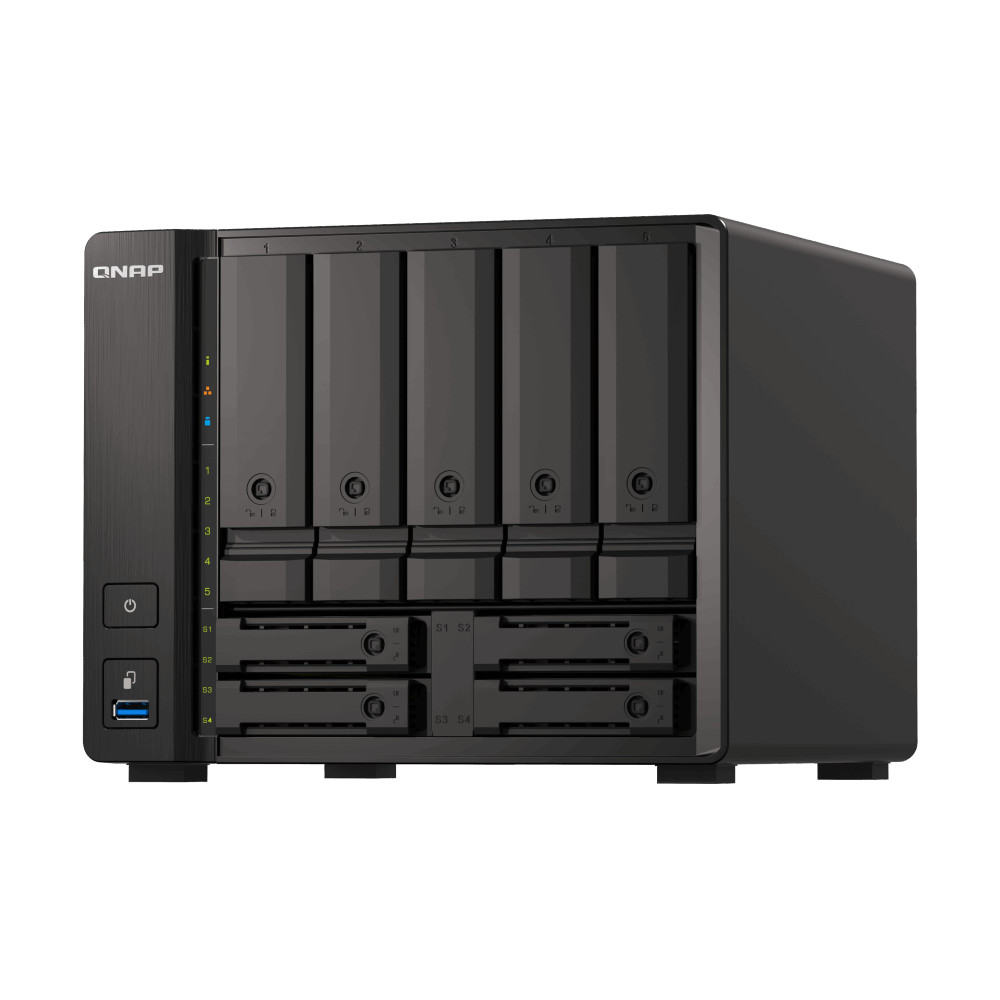
Six and eight bay
- Good for creative studios and small businesses.
- RAID 6 tolerates two drive failures and suits larger arrays.
- Higher IOPS and throughput for multiple users.
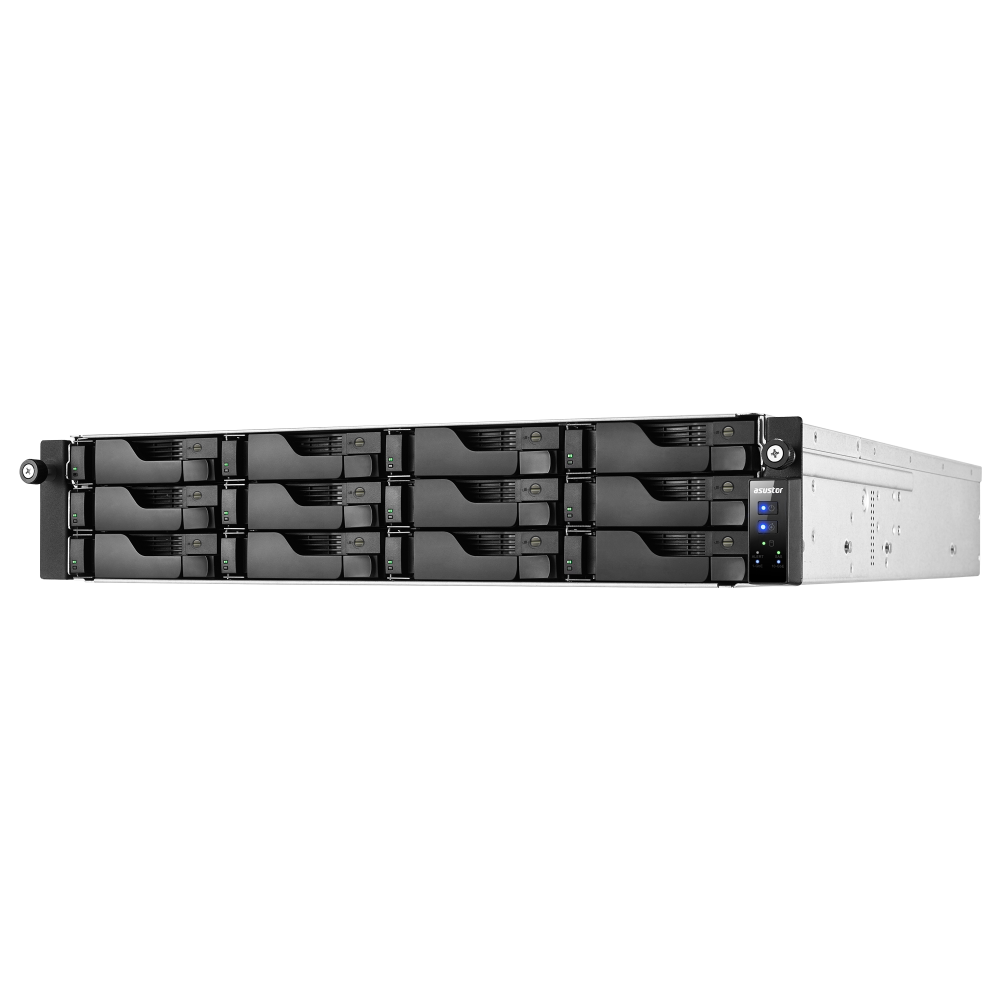
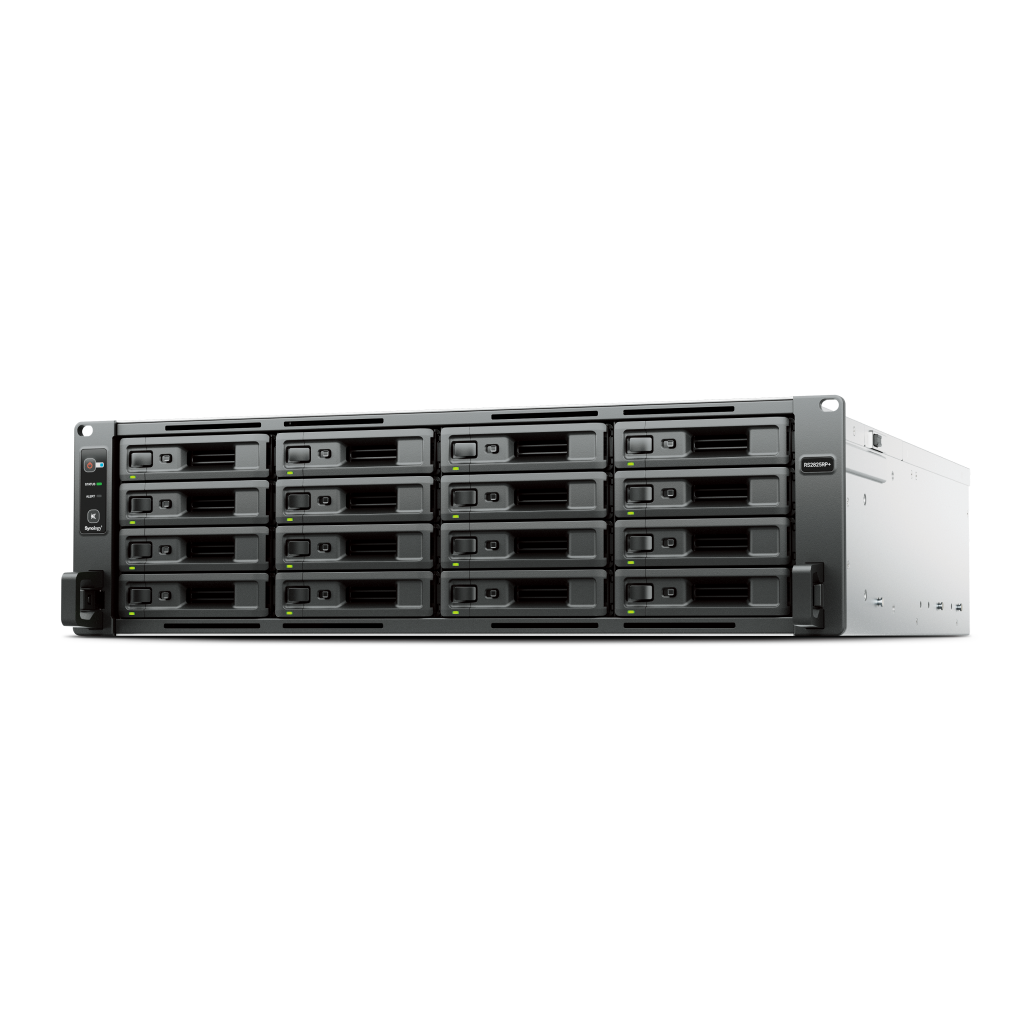
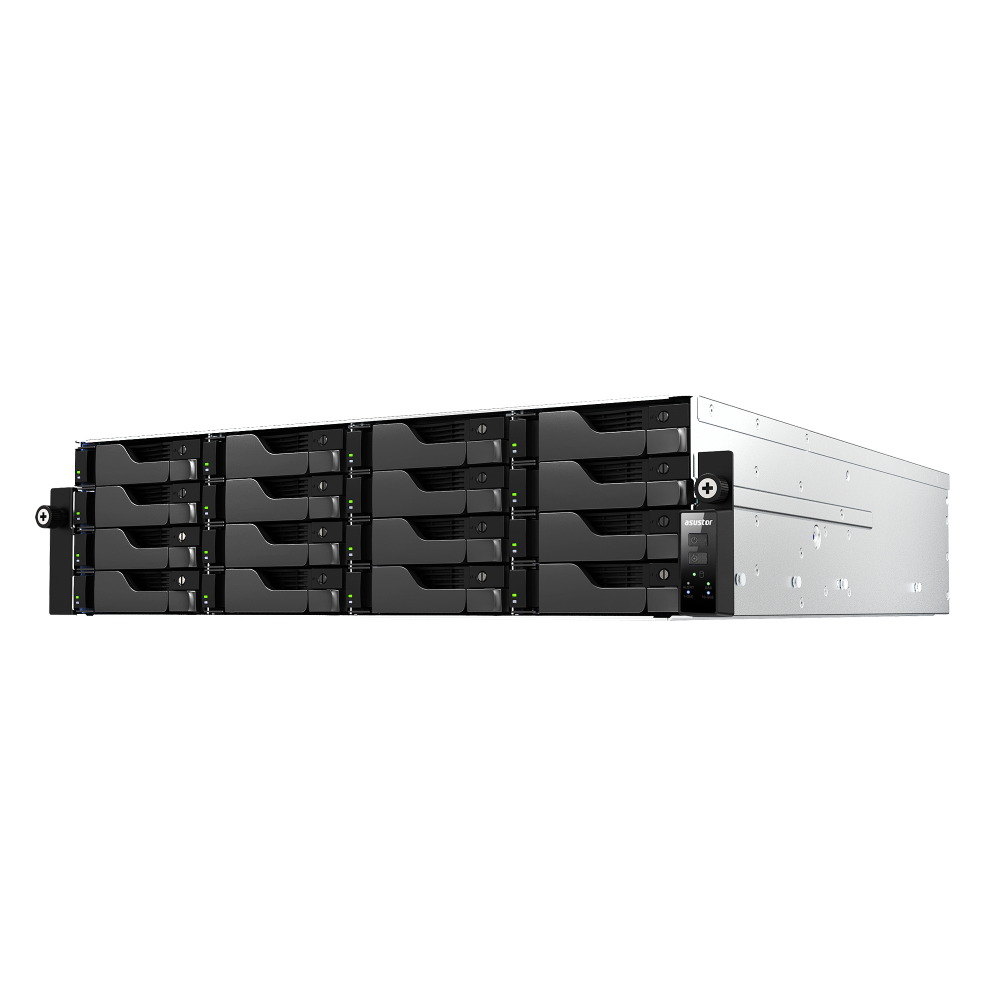
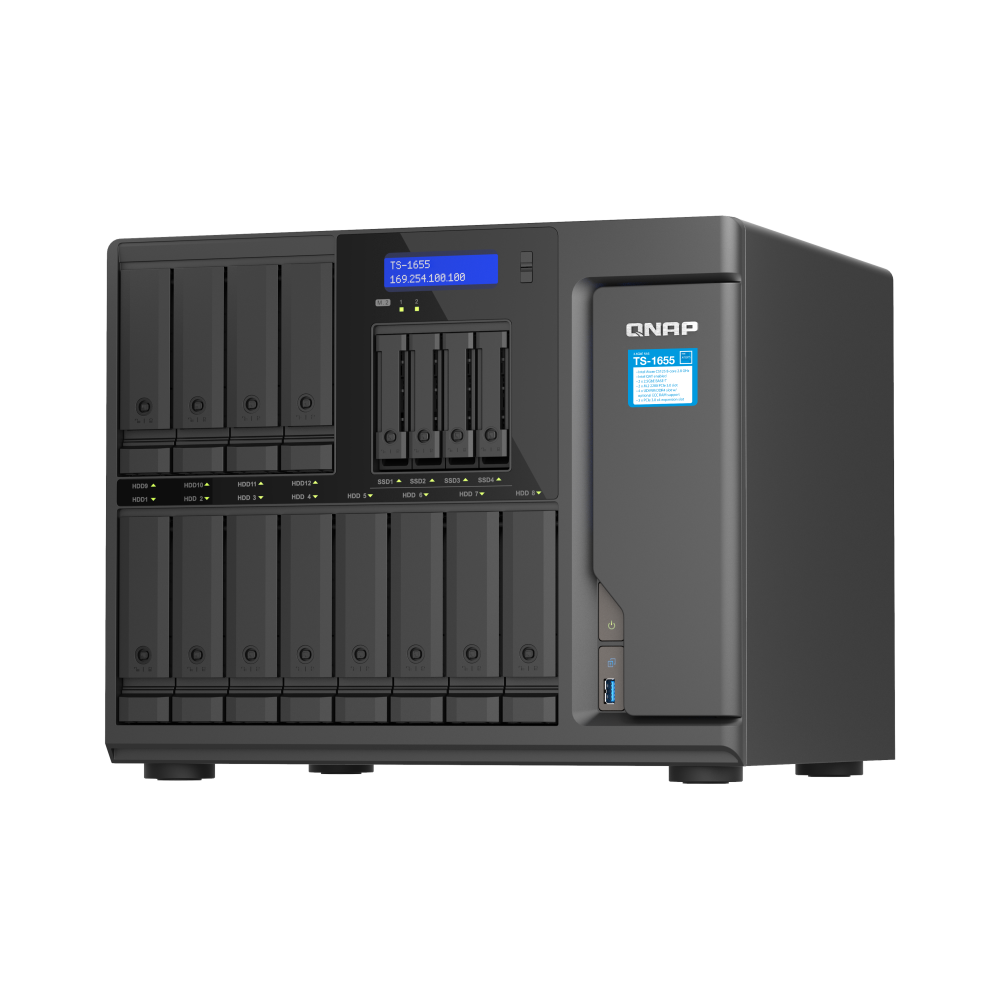
Rackmount
- For server rooms: redundant power, multiple 10GbE ports and advanced filesystems.
- Pair with a UPS and good ventilation.
Step 2 – Picking the Right Drives
Your disks are the core of the array. Choose NAS rated HDDs for bulk storage and SSDs for cache or high IOPS workloads.
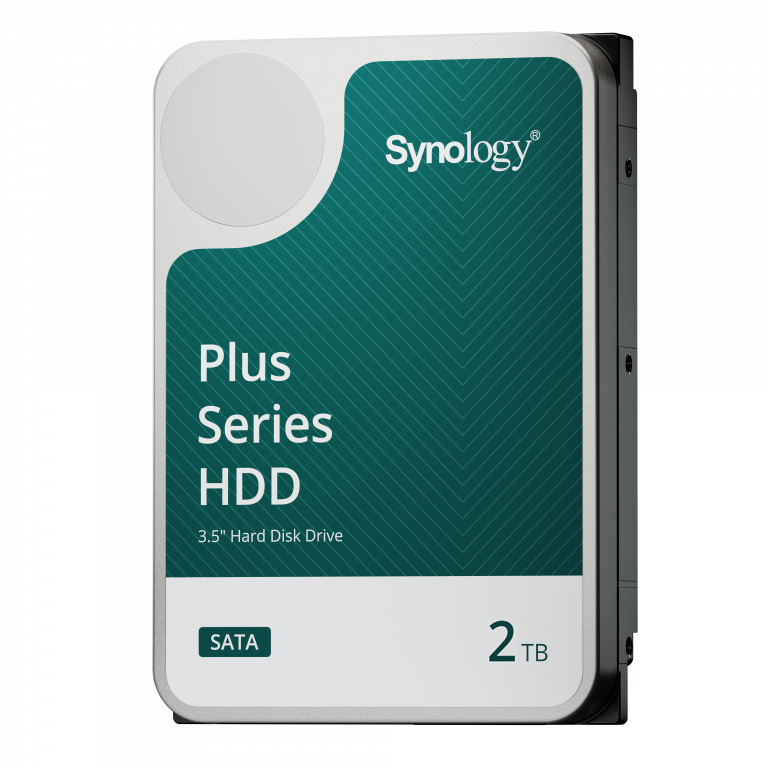
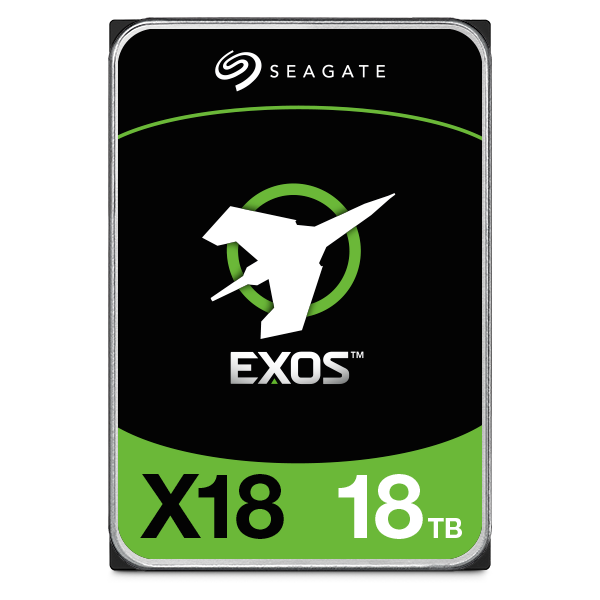
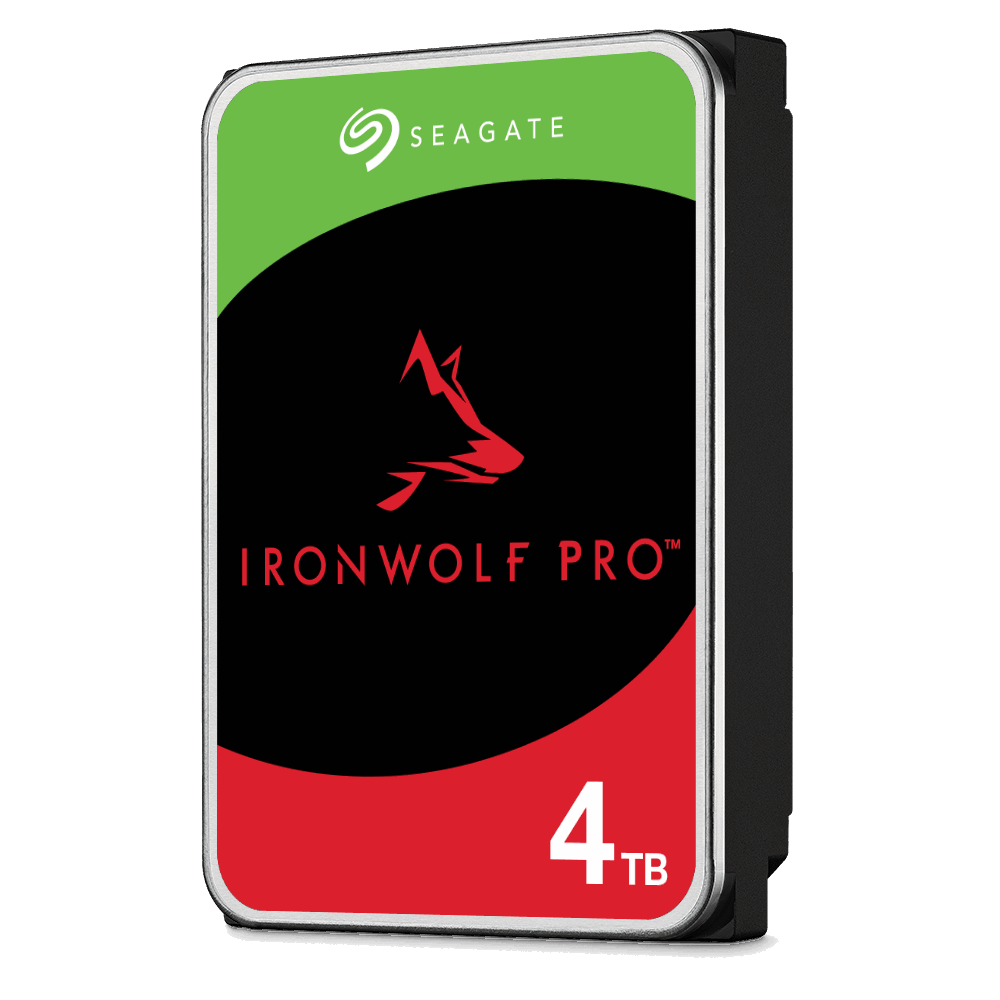
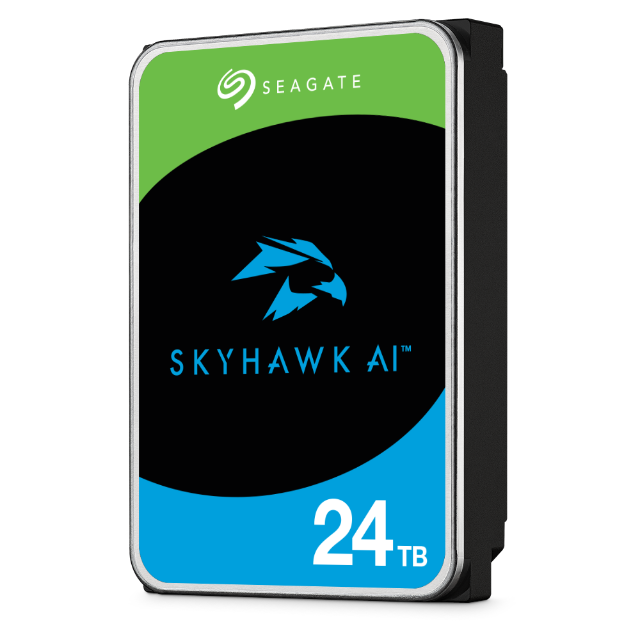
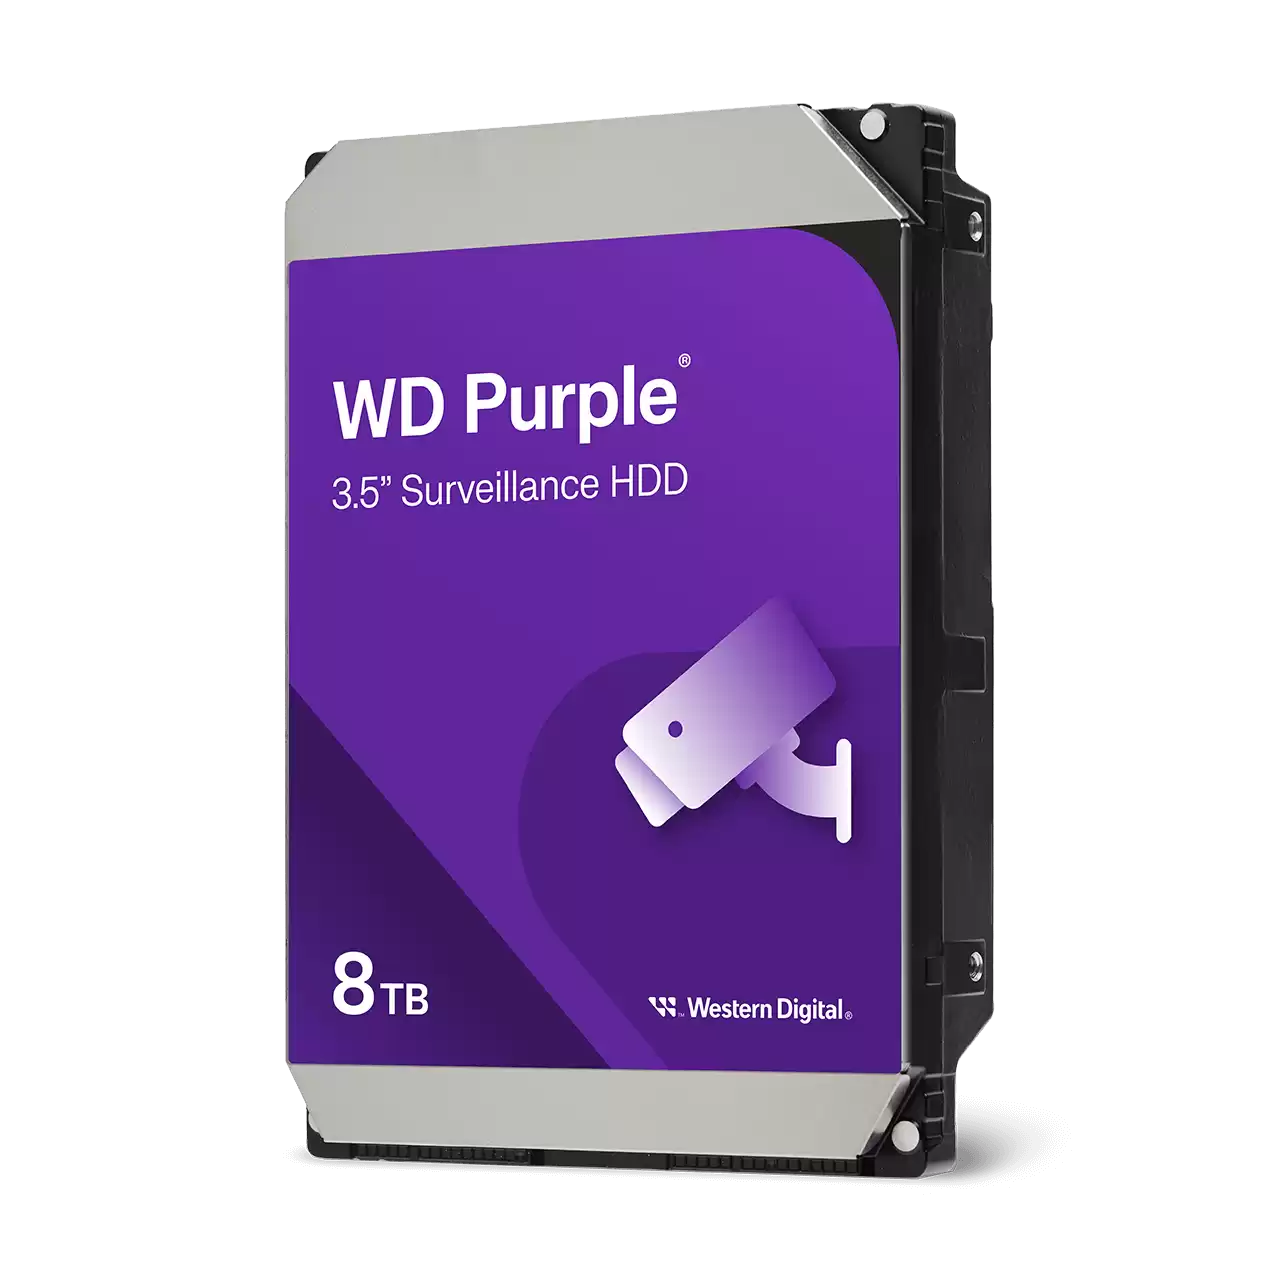
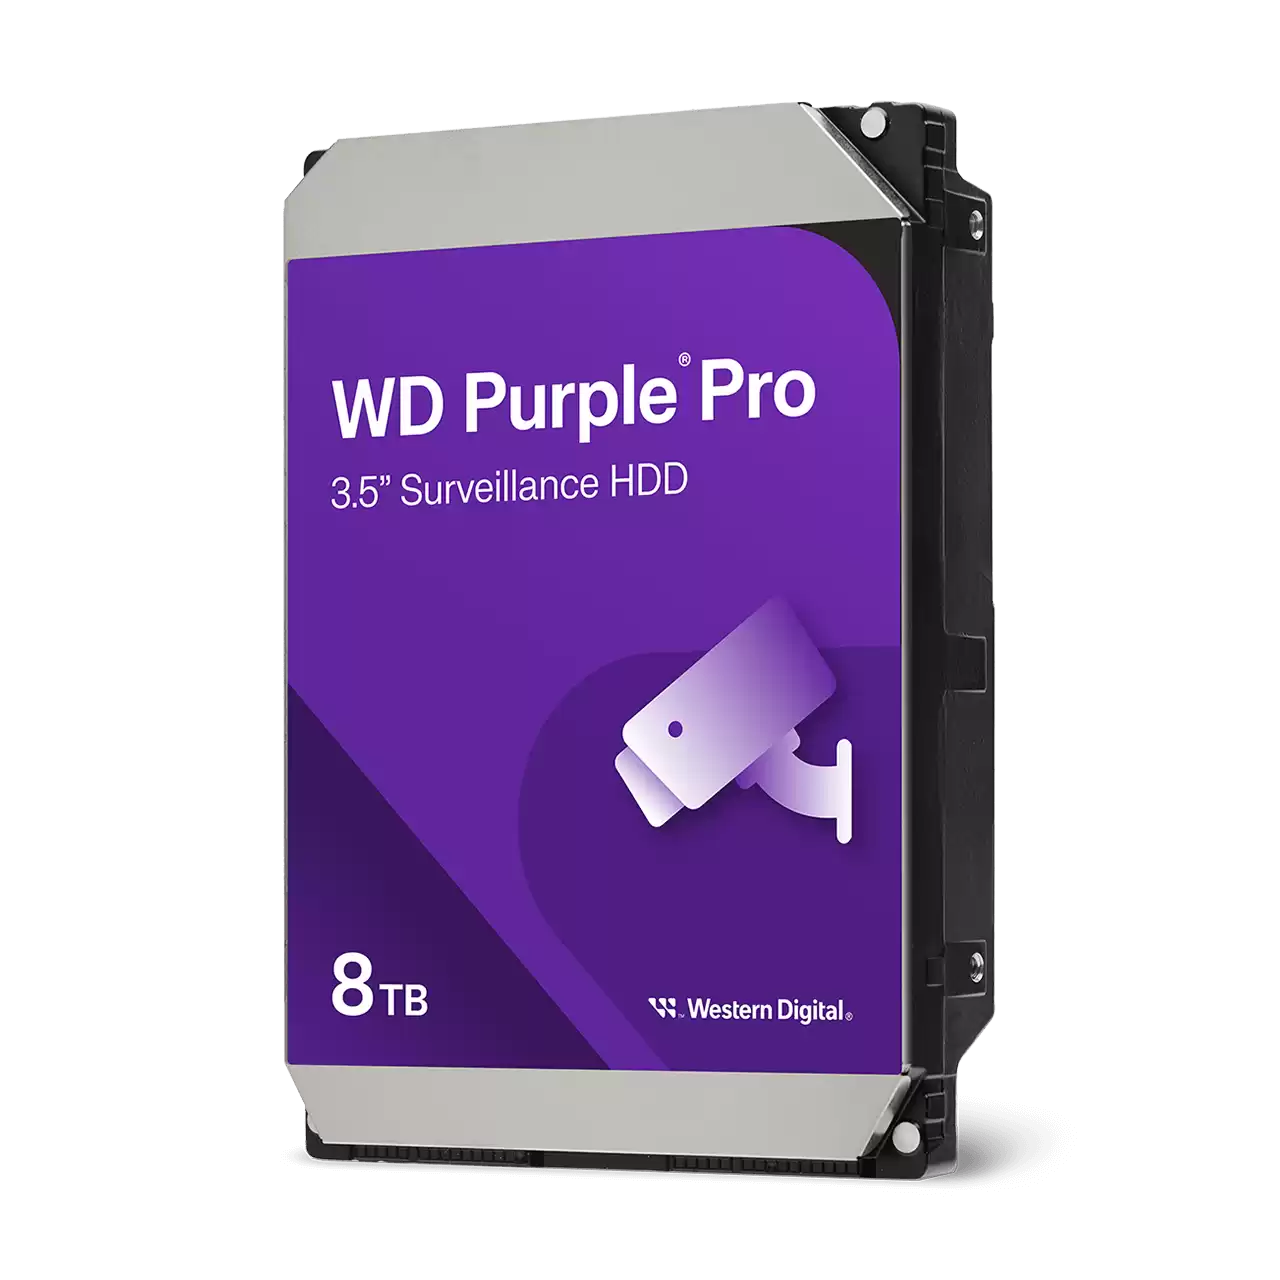
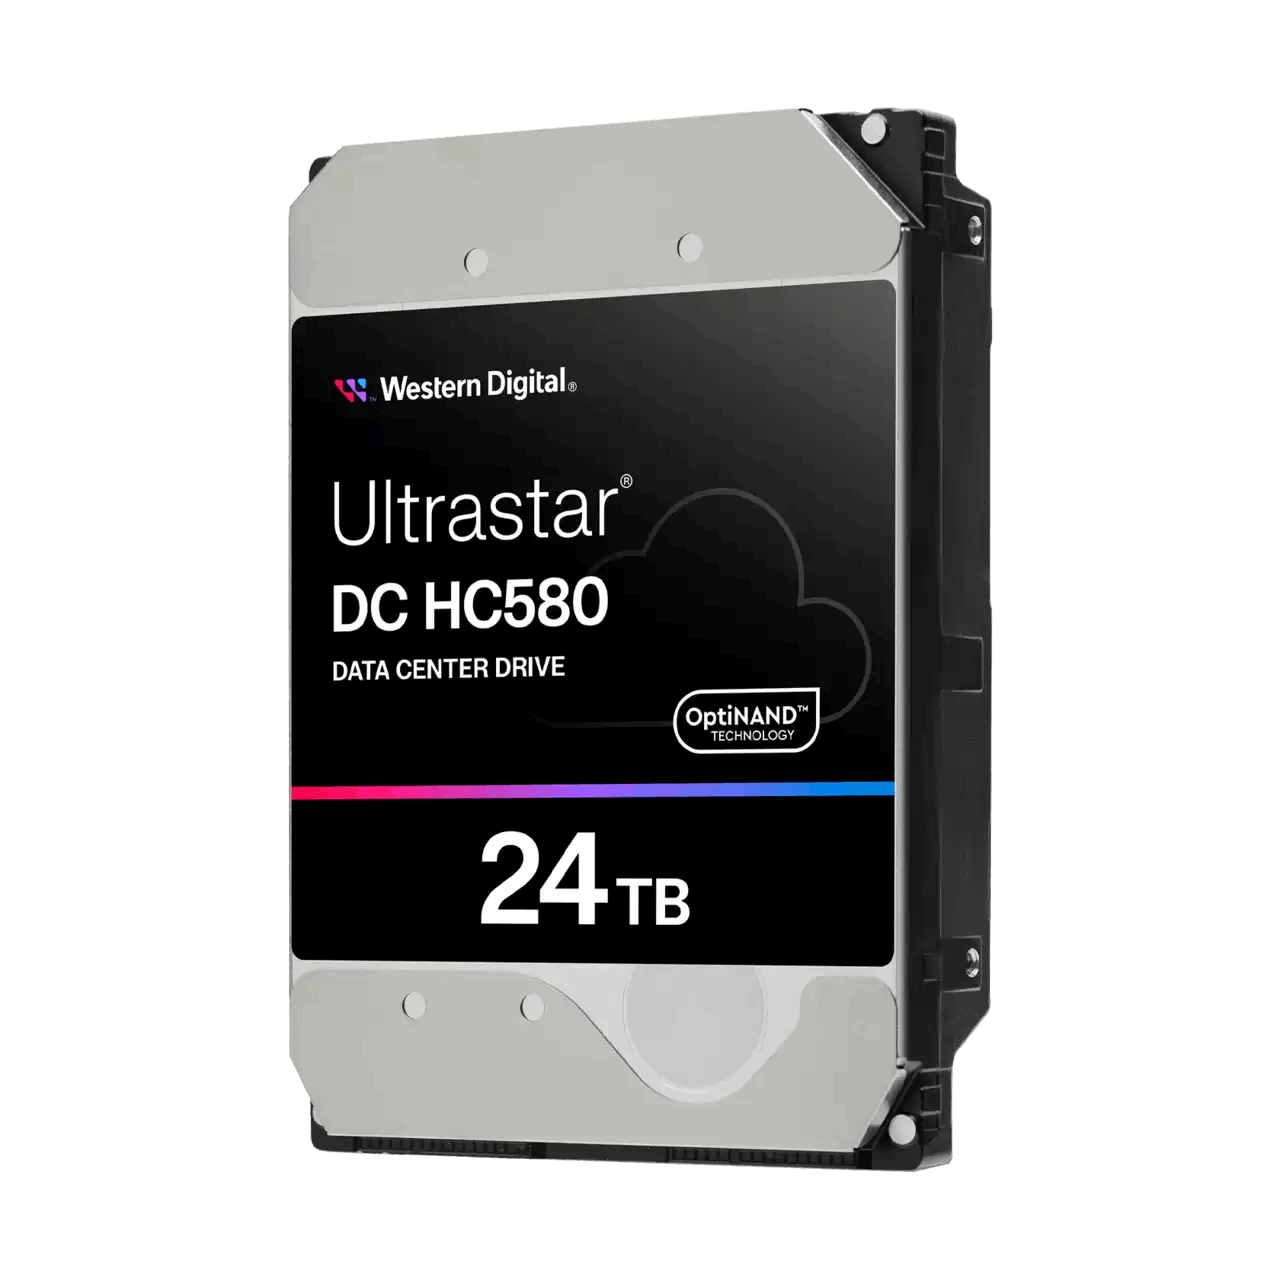
NAS rated HDDs
- Seagate IronWolf, WD Red Plus and Toshiba N300 are tuned for constant vibration and duty cycles.
- Capacities from 4TB to 22TB and the best dollars per terabyte for media and backups.
- Follow vendor drive QVLs if provided.
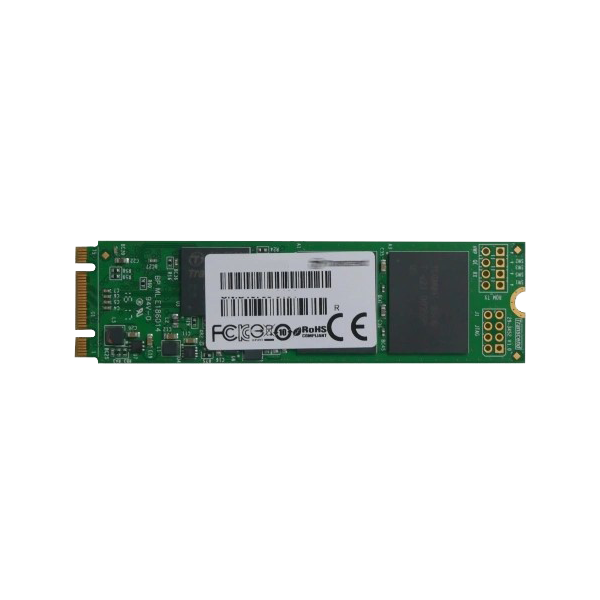
SSDs in NAS
- 2.5 inch SATA SSD is a simple drop in for cache or hot datasets.
- M.2 NVMe provides higher IOPS and suits metadata, previews and VMs.
- Consider endurance ratings for heavy write workloads.
Hybrid layouts
- HDD pool for capacity and SSD cache for reads and writes.
- Separate SSD volume for work in progress folders.
Step 3 – CPU & RAM: Powering Your NAS
CPU and memory define what your NAS can run smoothly, from Plex transcodes to Docker stacks and VMs.
Entry level (Celeron or ARM)
- Backups, Time Machine, file shares and Plex direct play.
- Two to four gigabytes of RAM, often upgradeable to eight.
Mid range (Intel i3 or i5, Ryzen Embedded)
- Multiple Plex streams, 4K editing over multi gig, containers and light VMs.
- Eight to sixteen gigabytes of RAM recommended. Use ECC if supported for business.
High end (Xeon or Ryzen Pro)
- Heavy virtualisation, many users, surveillance and analytics.
- Thirty two to one hundred twenty eight gigabytes of RAM. Consider ECC for data integrity.
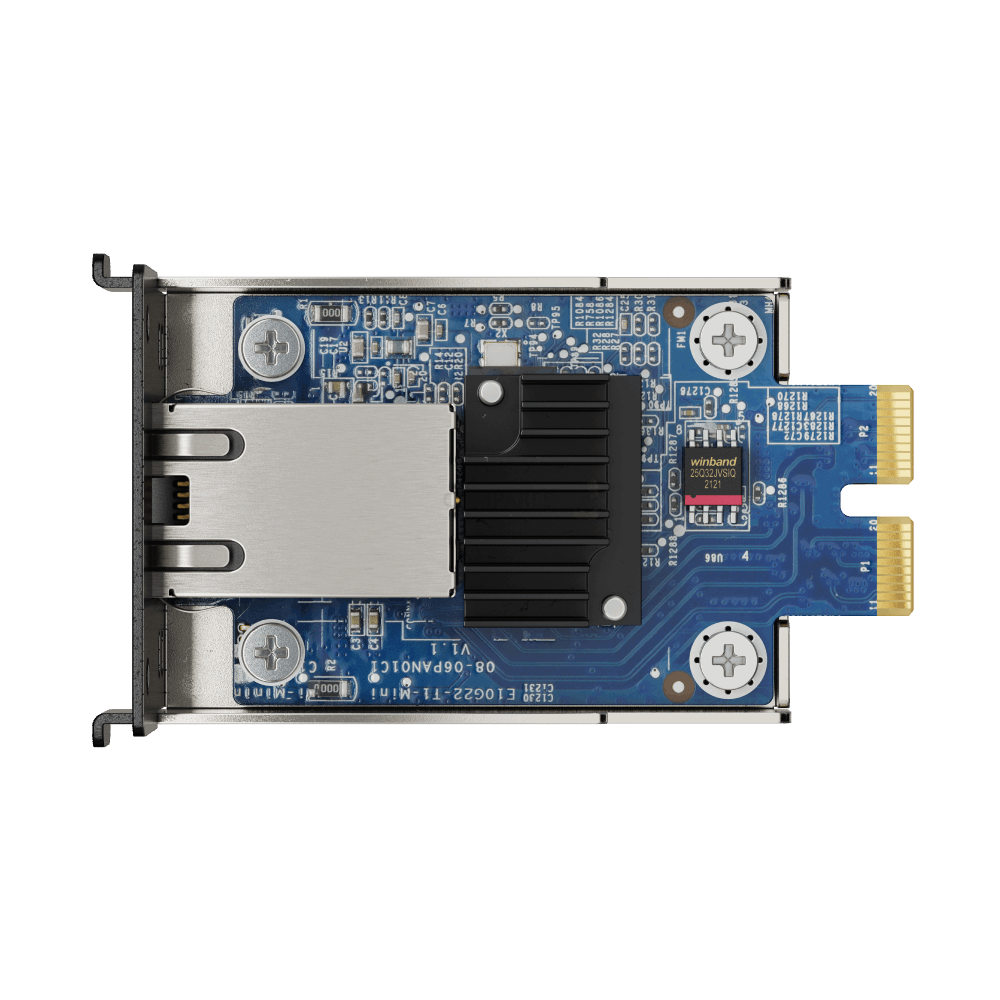
Step 4 – Networking: 1GbE, 2.5GbE & 10GbE
Networking is a common bottleneck. Match interface speed to your workload and switch capability.
1GbE
- Maximum around 110 MB/s, fine for backups and single stream media.
- Works with existing routers and low cost switches.
2.5GbE
- Around 280 MB/s and becoming standard in mid range models.
- Affordable multi gig switches and USB C adapters are widely available.
10GbE
- Often reaches 1,000 MB/s or more and is required for editing from shared storage.
- Usually added with a network card. Factor DAC or fibre cabling and switch ports.
Step 5 – RAID, Redundancy & Backup
RAID is not a backup. It guards against disk failure, not accidental deletion, ransomware or fire.
Common RAID levels
- RAID 1: mirror. Cuts capacity but simple and safe for two bay setups.
- RAID 5: stripe with parity. A strong balance for four bay arrays.
- RAID 6: dual parity. Better for six or more bays where rebuild risk rises.
- RAID 10: mirrored stripes with high IOPS if you can spare the bays.
Snapshots and versioning
- Point in time restores defeat ransomware and accidental deletion.
- Schedule frequent snapshots on project shares.
3-2-1 backups
- Three copies, two media types and one off site using USB rotation, a second NAS or cloud.
- Test restores each quarter and document the steps.
Step 6 – Software & Apps
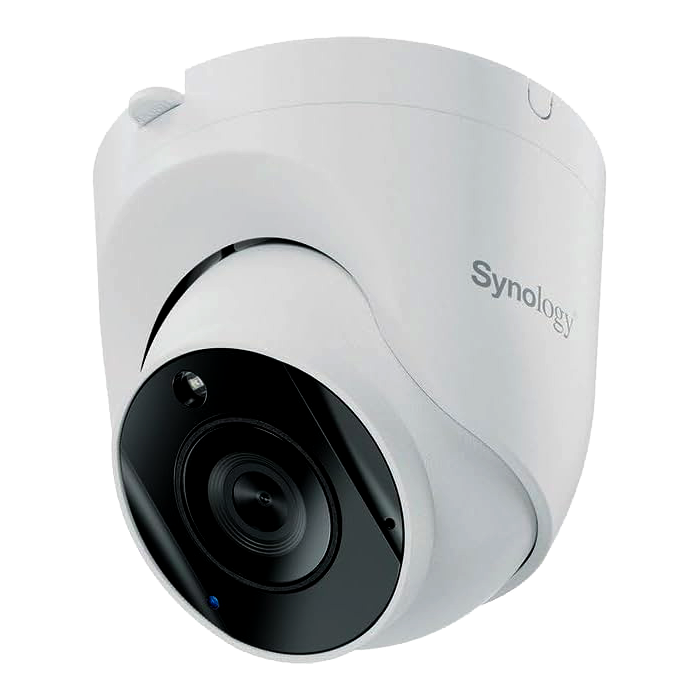
- Plex for media, Surveillance Station for CCTV, Time Machine for Macs and Windows bare metal backups.
- Docker stacks for media automation, development tools and databases, plus light virtual machines.
- Search, indexing and collaboration with drive style sync, link sharing and remote access.
Step 7 – Noise, Power & Environment
- Noise: more bays usually mean more fans. Place the NAS in a study or comms cupboard.
- Power: typical systems use 20 to 80 watts compared to 300 to 600 watts for a desktop left on all day.
- Thermals: keep vents clear and consider dust filters in workshops.
- Use a UPS for graceful shutdowns to protect arrays and avoid corruption.
Best NAS Options in Australia (2025)
Use these curated categories to build a shortlist:
Home Office NAS
Two to four bays, quiet and power efficient. Great value for family media and backups.
Explore ModelsNAS for Photo and Video
Multi gig networking, SSD caching and stronger CPUs for creative workflows.
Explore Creative NASBuying NAS Drives in Australia
- Use NAS rated lines for 24/7 workloads and vibration tolerance.
- Match RPM and cache to the workload and avoid SMR drives in RAID.
- Check local warranty terms and keep invoices for ACL claims.
- Stagger purchases across batches to reduce correlated failures.
Final Thoughts
Select a NAS by aligning capacity, redundancy, performance and budget to your workloads. For most Australians in 2025, a four bay with multi gig networking and SSD caching is the sweet spot. Businesses should consider ECC RAM, snapshots and off site replication.
- Home: two to four bays • RAID 1 or 5 • quiet and efficient
- Creatives: four to eight bays • 2.5GbE or 10GbE • SSD cache
- Business: six or more bays • ECC and snapshots • UPS