


RAID Rebuild Best Practices on Synology: Planning and execution
Plan rebuilds to be predictable and safe, with clear steps before, during, and after the process.
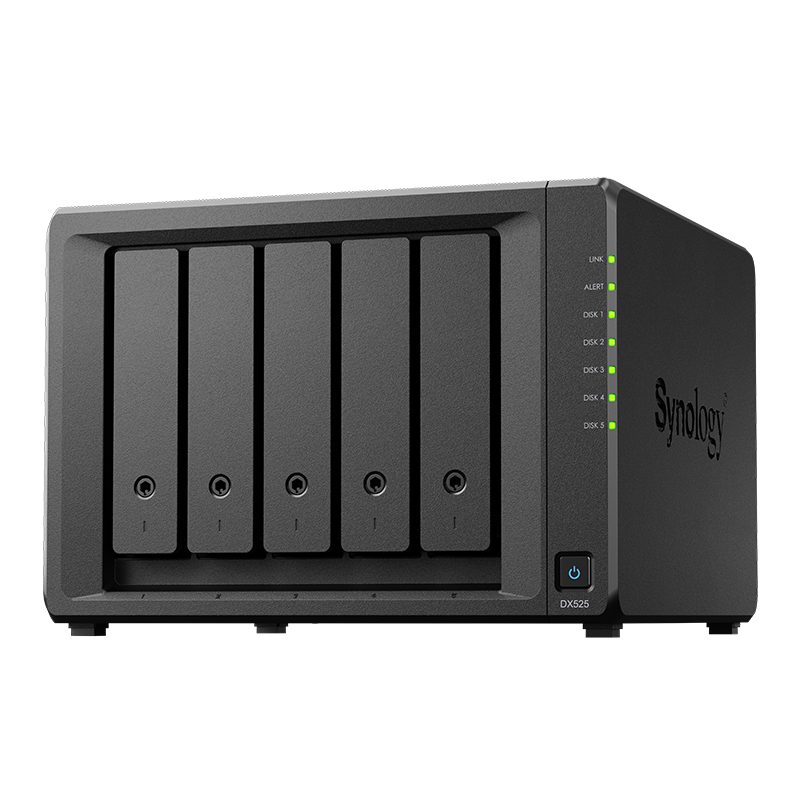
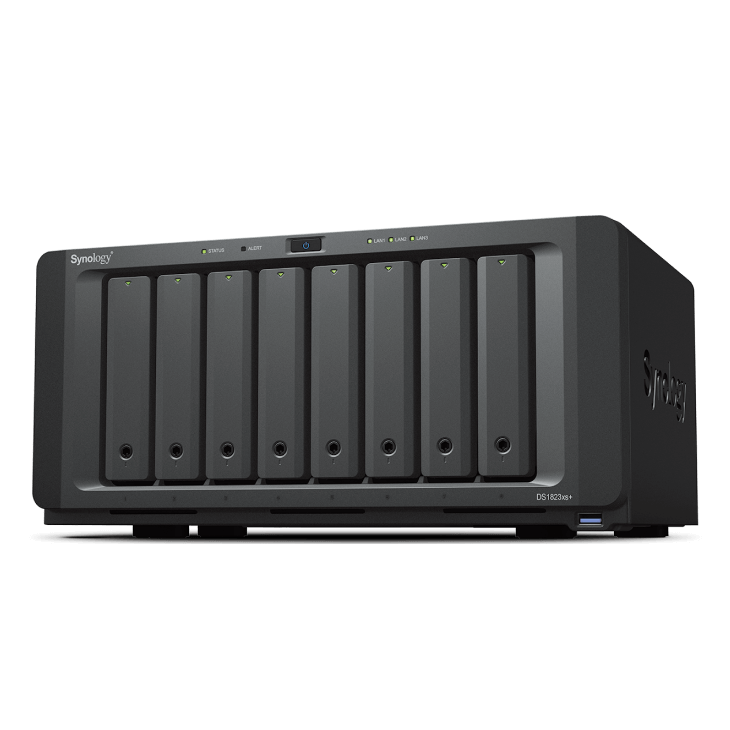
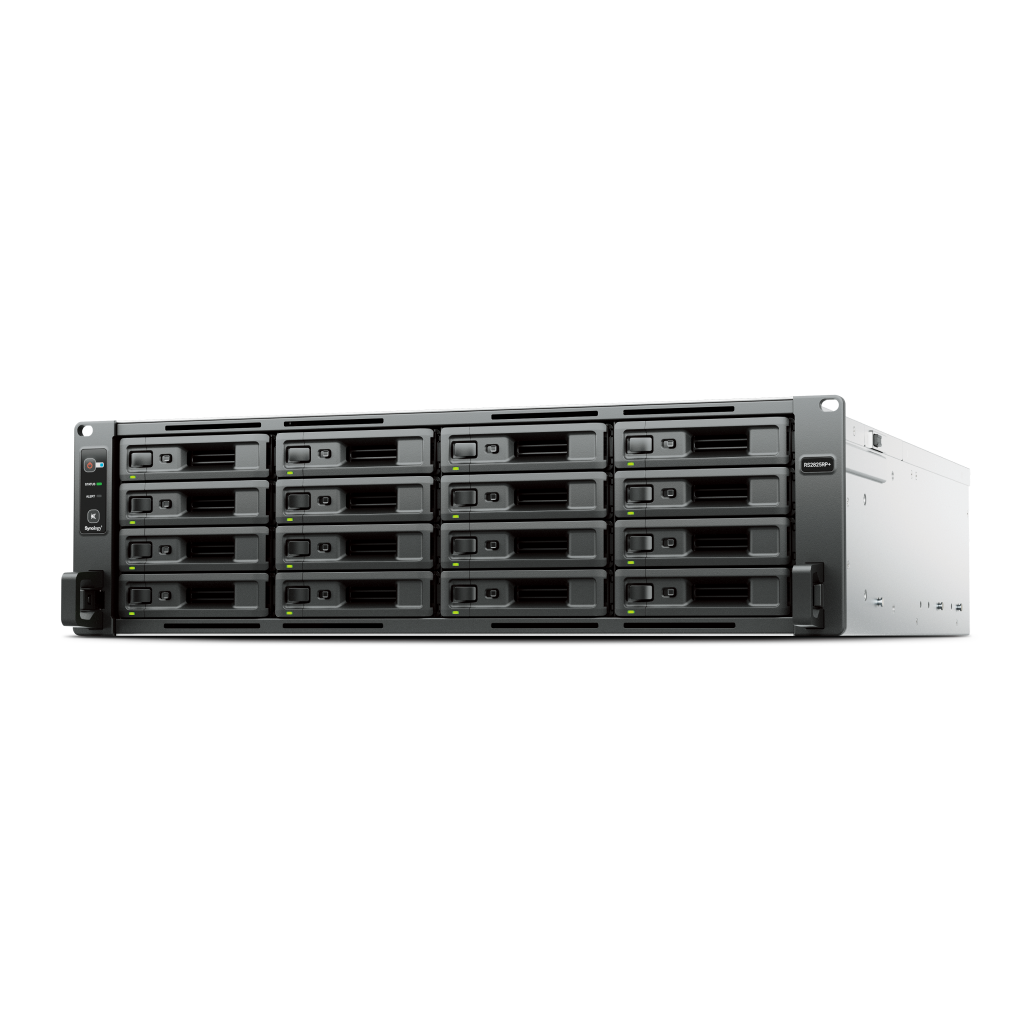
See Synology NAS range
Explore models suited to home, creators, and small business in Australia.
Browse SynologyOverview
Rebuilds place sustained load on disks. Good preparation and reduced workload lower the chance of a second failure.
Preparation checklist
Work through these items before you start.
- Verify you have a current backup and recent snapshots
- Run extended S M A R T tests on remaining drives
- Update DSM and controller firmware if recommended
- Schedule the rebuild during low activity hours
- Disable heavy background tasks such as thumbnailing or large sync jobs
During the rebuild
Keep the system cool and workloads minimal.
- Monitor drive temperatures and keep airflow unobstructed
- Avoid large file moves and major package updates
- Track progress in Storage Manager and system logs
- Have a cold spare ready in case another drive shows errors
Post rebuild checks
Confirm the array is healthy before resuming heavy work.
- Run a parity scrub or data consistency check
- Review S M A R T results and reallocated sector counts
- Verify backups have resumed and complete successfully
- Document the rebuild time and any anomalies
Prevention and ongoing care
Reduce future rebuild risk with simple routines.
- Keep a spare drive on hand and replace suspect disks proactively
- Plan capacity so arrays do not run near full
- Consider RAID 6 for larger arrays to tolerate a second failure
FAQs
Helpful clarifications for planning rebuilds.
- Can I use the NAS during rebuild
- Light use is fine, avoid heavy workloads
- How long will it take
- Depends on capacity, model, and load
- Should I switch to SHR or RAID 6
- Choose based on bay count, risk, and growth plans
Need technical support or more detailed guidance? Please contact Synology via our Synology Support – Australia page. It includes ticket, Live Chat, warranty and downloads links.